This post may contain affiliate links, which means that I may receive a commission if you make a purchase using these links.
What is Sourdough Bread?
Sourdough bread is bread leavened from a wild culture of bacteria and yeast called a ‘starter,’ as opposed to bread leavened with store-bought dry active yeast.
Leavening is the process that makes bread dough rise.
This leavening action comes from the process of fermentation. Yeast and a type of bacteria called lactobacilli ‘digest’ the sugars in the wheat flour and produce gas and lactic acid, the compound that lends the bread its signature sour taste.
Sourdough bread making is actually an ancient process, used before humans could shop for dried yeasts at the grocery store.
Today, sourdough bread making is becoming popular as more home bakers turn to traditional baking methods to feed their families.
Why Make Sourdough Bread?
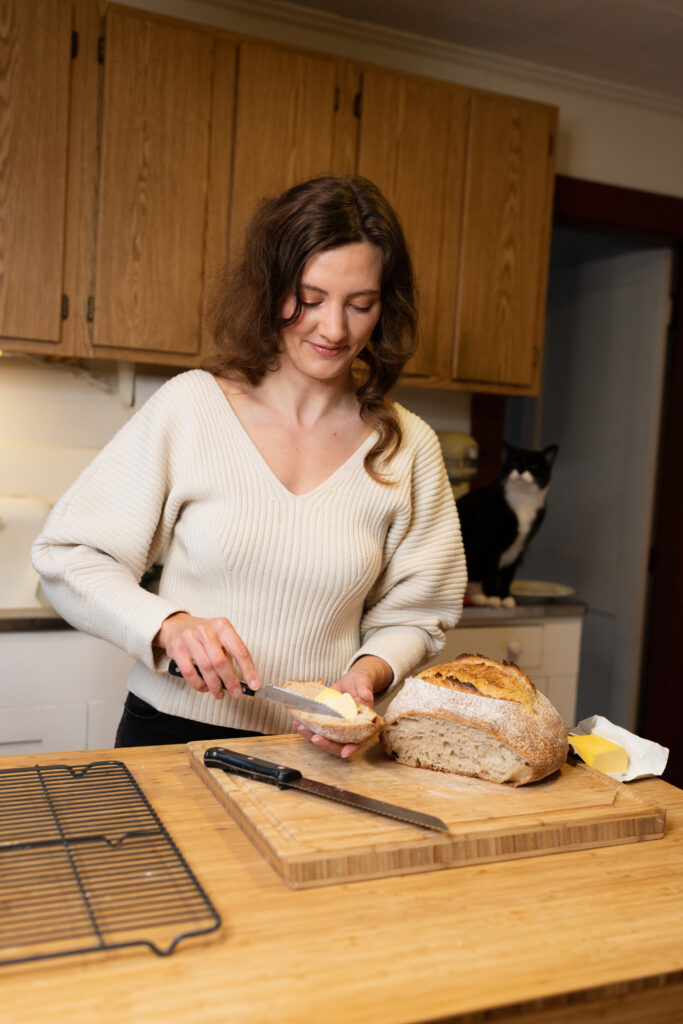
Making sourdough bread is fun, rewarding, and the finished product is tastier than any loaf of bread you can buy at the store.
A well-cared-for sourdough starter is a self-replenishing resource that offers you the opportunity to have fresh bread on the table whenever you want. Homesteaders and folks interested in decreasing their reliance on conventional food systems might be interested in sourdough bread making.
Once you have your starter, you’re not limited to making bread. Try experimenting with sourdough pizza, crackers, and desserts.
There is even some evidence that sourdough bread may be more easily digested (especially for the gluten-sensitive folks!) The theory is that the yeast and bacteria that are feeding on the wheat flours are also doing some of the digesting for you, breaking down proteins into more digestible forms.
What is Sourdough Starter?
To make a starter back in the day, you would leave out a mixture of flour and water and let the naturally-occurring yeasts in the air to begin the fermentation process.
You can still take that approach today, but a more reliable option is to buy a starter kit or to source starter from a friend or local bakery. Asking someone for starter shouldn’t be a big ask; once you have your own you’ll see how quickly you’ll have more than you can handle!
My favorite starter kit is Culture for Health’s San Francisco Sourdough Style Starter Culture. It contains freeze dried starter culture that you reactivate by feeding increasing amounts of flour and water over the course of a few days. Follow the instructions on the package.

Feeding Your Starter
Think of your starter like a child or pet–it needs to be fed every day. Remember, the yeast and bacteria that make your bread rise are living things and they need to be kept happy!

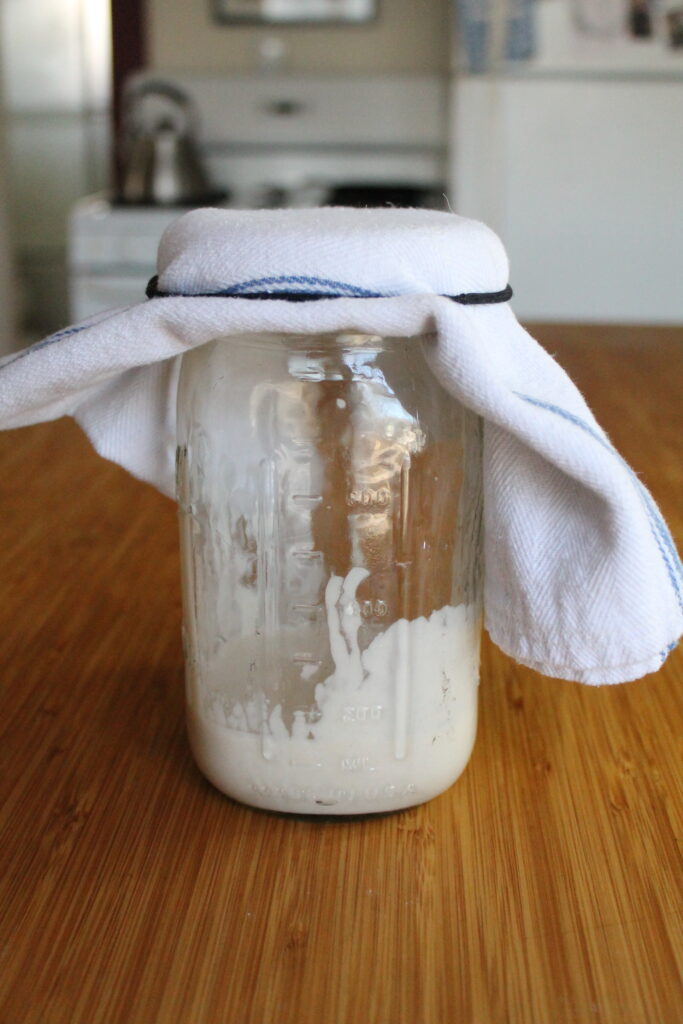
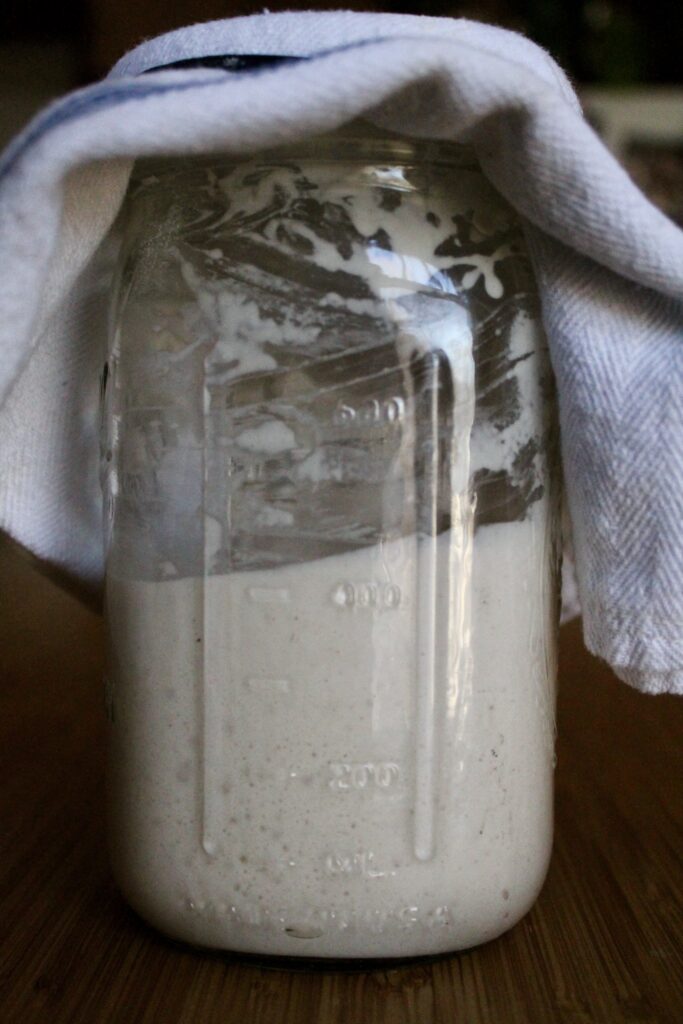
Sourdough starter before feeding. Sourdough starter a few hours after feeding.
Feed your starter once in the morning and once in the evening. Feeding your starter just means adding equal parts flour and water.
To feed, add ½ cup flour and ½ cup water to ½ cup of starter. Mix together with a spatula. The consistency should be like thick pancake batter.
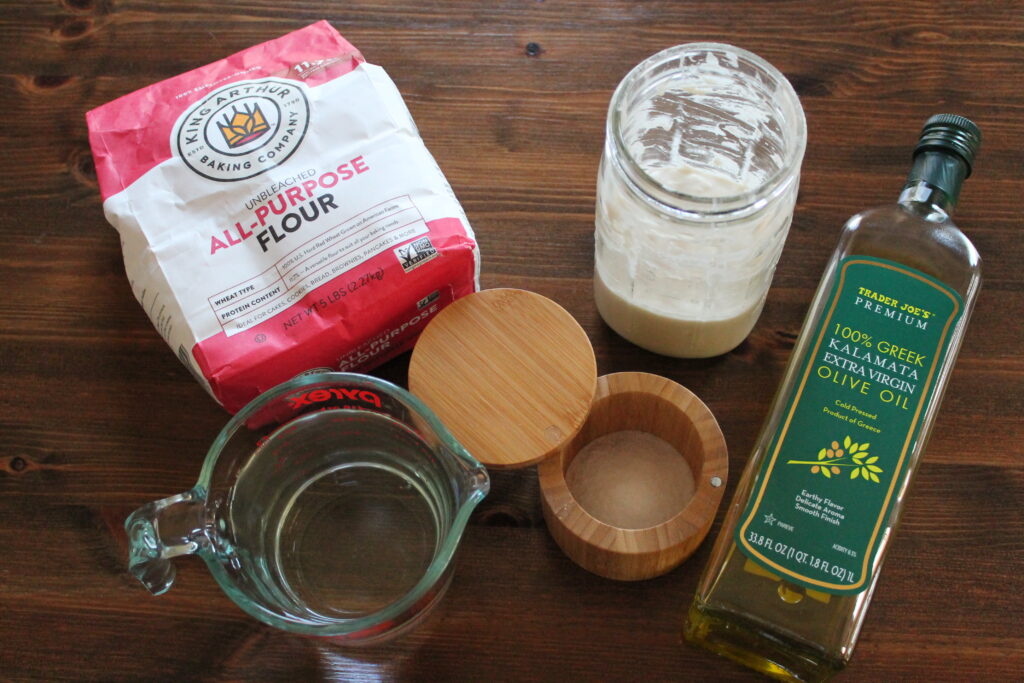
It’s important to buy unbleached flour for feeding your sourdough starter. Using unbleached flour ensures your yeast and bacteria culture will thrive. I like King Arthur’s Unbleached All Purpose Flour for starter feeding and King Arthur’s Unbleached Organic Bread Flour for actually baking the bread.

It doesn’t matter too much the brand of flour or whether it’s specified as bread flour, so long as it is unbleached. Bread flour just contains more protein, which can help with gluten development and rise.
Store in a safe place at room temperature. Make sure the starter is well covered, but can breathe. I keep my starter in a 32 ounce mason jar on top of my refrigerator, and cover with a tea towel secured by an elastic band.
You’ll notice that after each feed, bubbles appear and your starter will grow (and often double in size!) This is a sign your yeast and bacteria are happy. You typically want to use your starter when it is in this stage, often referred to as ‘on the rise.’
As your starter grows, you’ll quickly have more starter than you’ll ever need. Before each feed, reduce your starter down to about ½ cup. The remainder is called ‘discard.’ You can either chuck your discard, or use it in other recipes like crackers, pancakes and crepes.
Equipment for Making Sourdough Bread
When it comes to making sourdough bread, there are some must-have tools and some nice-to-have tools. If you plan on making sourdough part of your lifestyle, I recommend investing in your kitchen equipment. These are the tools I wish I had on hand when I started, listed in order of importance.

Dutch oven – If you don’t already have a dutch oven, now is the time to invest. The dutch oven’s use goes well beyond sourdough bread making, but since that is what we’re talking about: the dutch oven gets really hot, which is key in getting that perfect crust.

Kitchen scale – Sourdough bread making can be an exact science. Weight is the most exact way to measure your ingredients. Most bread recipes are listed in grams. A kitchen scale is key if you want to play around with recipes and measure hydration percentages.

Bench scrapers – You’re going to be handling a lot of sticky bread dough. Bench scrapers make kneading (and cleanup) easier.

Parchment paper – You’ll need to line the bottom of your dutch oven with parchment paper so the dough doesn’t stick.

Banneton proofing basket – You can get by the secondary ferment stage by placing your dough boules in colanders as opposed to the traditional banneton basket. But, you risk more mess. Plus, with the banneton, you get to sound fancy and French.

Gigantic 20 quart bowl – All my initial flour mixing goes on in this gigantic 20 quart bowl. You will laugh at the size of this thing, but quickly realize its utility. When you’re mixing flours, you want a lot of room to work. This eliminates the problem of flour spilling out of tiny bowls and getting thrown around your kitchen.

Proofing plastic container – You’ll want just a plastic bin (something you’d get at the Container Store) for the bulk fermentation phase. This allows you the room to stretch out the dough and get good gluten development. Make sure to drizzle a little olive oil in there so the dough doesn’t stick.

Bread lame – The bread lame (pronounced “LAHM”) is a nice-to-have tool. It’s basically an extra-sharp razor that allows you to make exact scores on your bread. Some people use the lame to make really beautiful bread art.
How to Make Sourdough Bread
This recipe makes two sourdough boules. See previous section for recommended equipment.
Ingredients
1000 grams all-purpose or bread flour (I like King Arthur’s Unbleached Organic Bread Flour)
750 grams water (plus a splash for dissolving salt step)
200 grams sourdough starter (“on the rise,” i.e. a few hours after a feeding)
20 grams sea salt
Olive oil for proofing container
Note: Have all your ingredients ready to go, mise en place style. Your hands are going to be sticky and you don’t want to be rummaging around in kitchen drawers with sourdough starter on your hands (that stuff sticks like glue!) I would also recommend having bench scrapers at the ready, and a decent amount of clean counter space to knead the dough.
- In a large bowl, mix together 750 grams of the flour and 750 grams of water until fully combined and the flour has absorbed all the water (there should be no dry flour.)
- Let the flour and water mixture sit for at least 30 minutes, or up one hour. This process is called autolyse, which is just a fancy word for allowing the flour to fully hydrate. It may seem like nothing is happening, but this step is important! Autolyse allows for gluten development and improved flavor.
- Add the remaining 250 grams of flour to your dough. Mix until fully combined.
- Add the 200 grams of sourdough starter. I recommend mixing the starter in with your hands using the pinching method. Basically, use your hands like pinchers (like a crab) and pinch the starter into the dough. This allows the starter to fully incorporate.
- Once the starter is fully combined into the dough, add in the 20 grams of salt with a splash of water to dissolve. Knead in with your hands. At this point, you should feel a distinct change in texture in the dough. It should feel like the dough is holding its shape better.
- Plop the dough out on your clean counter space. Now is the fun part. You’re basically going to do bread kneading on steroids. This process is called the ‘slap-and-fold’ and it’s basically what it sounds like. Pick your dough up and slap the end farthest away from you onto the counter, and fold it over itself. Repeat. It helps to use a bench scraper here to pick up the dough cleanly off the counter. Continue slapping and folding for 5 minutes.
- Place the dough in a well-oiled (I use about two tablespoons of olive oil) plastic proofing container for the initial fermentation, also known as ‘bulk fermentation’.’
- Let rest in a warm place for 30 minutes. Make sure the container is covered at least loosely so no nasties can get in.
- Oil your hands with olive oil before touching the dough. Pick up the dough from its middle, lifting it high so the two ends stretch and sag below your hand. Fold the dough on top of itself back inside the proofing container. Rotate dough 180 degrees and repeat this stretch and fold on the other side of the dough. This stretching and folding is basically more kneading, but in slow motion, to allow for fermentation and flavor development.
- Let rest in a warm place for another 30 minutes. Repeat this stretch and fold every 30 minutes for at least four hours (a total of eight rounds.) You’ll know you are done when the dough has risen considerably and is very bubbly and fluffy.
Note: The time it takes for your dough to rise is temperature dependent. In colder climates (like in New England where I live) bulk fermentation can take 8-10 hours on a chilly day. Ideally your dough is proofing in a warm place around 75-80 degrees Fahrenheit. - Plop the fully proofed dough out on your clean counter space. Using your bench scraper, cut the dough in half (this can be eyeballed, unless you want perfectly matching loaves.)
- Using your bench scraper, shape the dough into two boules. The technique is to tuck your bench scraper underneath the dough and rotate it around in a circle, using the surface tension to create a ball shape. Do not use your hands; this dough is very sticky.
- Once you have two boules, sprinkle lightly with flour and cover with a tea towel. Let rest for 10 minutes.
- Sprinkle flour on the counter in front of your two boules. Using your bench scraper, flip the dough over onto the floured space so the sticky side of the dough is facing up (this is important so the dough will stick to itself in the next step.)
- Tug around the dough to stretch it out slightly into a wider circle. Fold the dough onto itself like an envelope. Take the bottom edge and fold up into the middle. Then fold in the right and left sides. Finally, tug the top a little more, and fold up and over into the middle, covering your other folds. Pinch all your ends together to create a seam.
- Lightly flour two banneton proofing baskets. Place your boules seam side up in the basket, lightly dust with flour, cover with a tea towel and place in the fridge overnight.
- The next morning, preheat your oven to 425 degrees Fahrenheit.
- Cut a circle of parchment paper the size of the bottom of a dutch oven (or other vessel). Place the parchment paper circle on a plate and lightly dust with flour.
- Place your dutch oven in the oven while it preheats. You’ll want your dutch oven nice and hot so the bread forms a nice crust.
- When the oven has preheated, take out the dutch oven. Take one of the boules from the fridge and overturn dough seam side down onto the plate with the floured parchment paper.
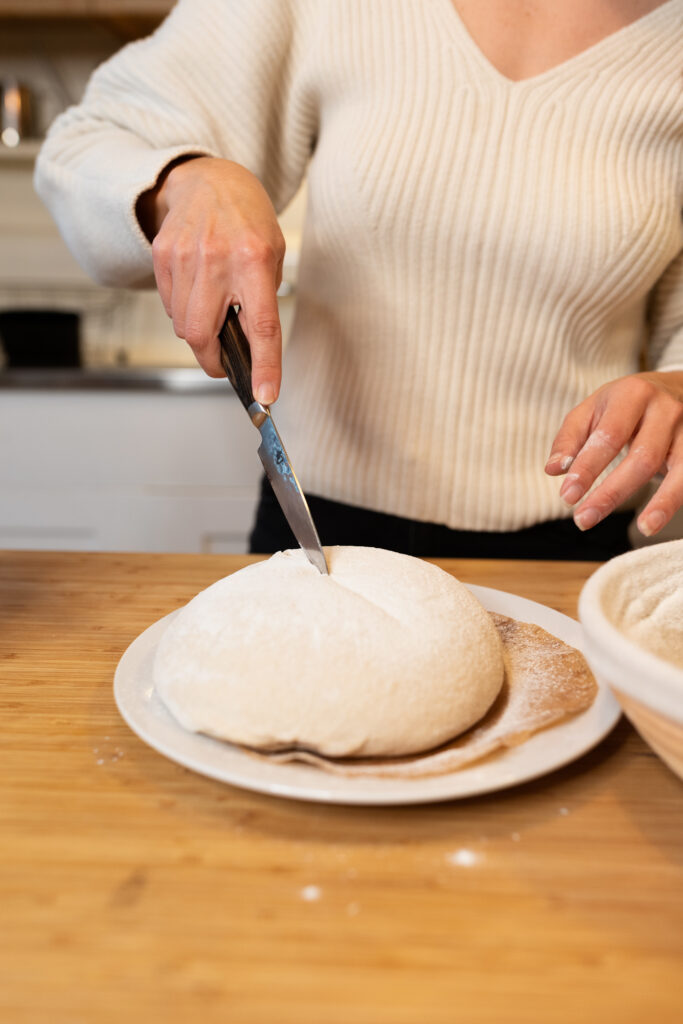
- With a sharp knife or bread lame, make at least one cut on the surface of the dough. You can get really creative here, and come up with your signature mark.
- Slide the parchment paper with the dough into the dutch oven. (Be careful, remember the dutch oven is hot!)
- Put the lid on the dutch oven and bake for 20 minutes with the lid on. This phase allows for the steam created under the lid to make your dough rise even higher.
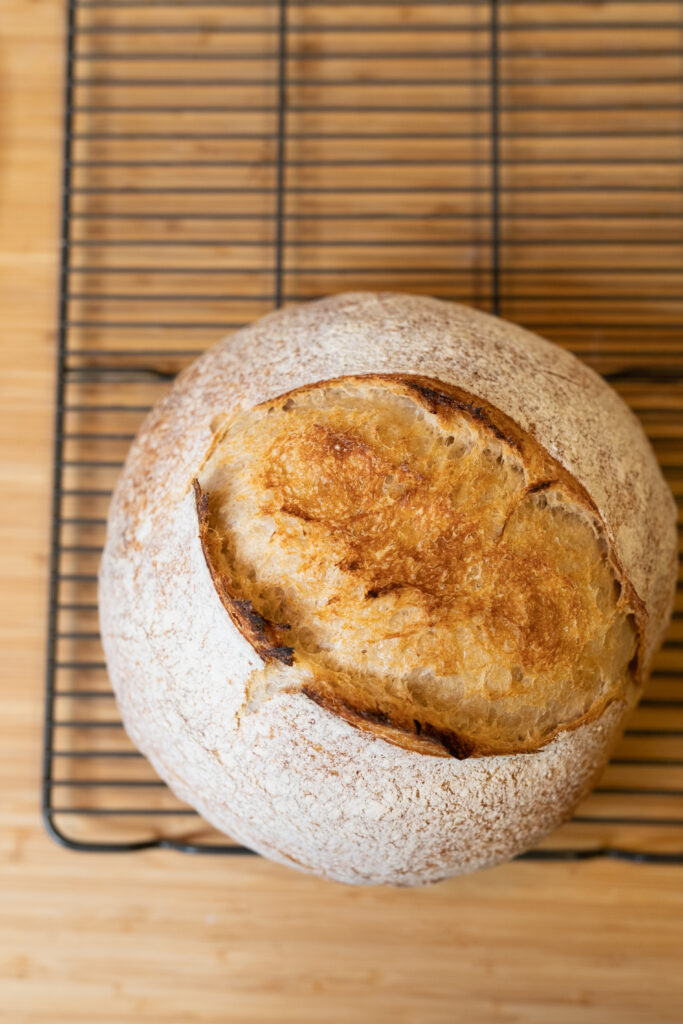
- Take the lid off and cook for another 15-20 minutes. We’re looking for a golden brown crust. Some bakers give the bottom of the bread a little knock. Fully cooked bread will sound a little hollow.
- Place bread on a steel cooling rack and let cool for at least an hour before cutting into it. (I know, waiting is the hardest part!)