This post may contain affiliate links, which means that I may receive a commission if you make a purchase using these links.
Growing your plants from seed is a gratifying process. Like any journey worth taking, it can also be challenging.
There will always be bumps along the road, but each challenge is a learning opportunity you can take with you to the next growing season. Nothing teaches you more about the lifecycle of the garden and the personality of each plant like starting seeds yourself.
I hope these tips help you avoid some lessons I had to learn the hard way. That being said, gardening is meant to be fun, so don’t be afraid to experiment and try something new.
First let’s talk about why I recommend starting your own seeds in lieu of buying seedlings in most cases. Then we’ll get into some common mistakes to avoid when starting your own seeds indoors.
Why Start Your Own Seeds
First, let’s talk about the money you can save by starting your own seeds. Let’s say you buy a pack of 25 organic, heirloom tomato seeds for $4.00. This is $0.16 a tomato plant. A single tomato seedling alone might cost you around $4.00.
The cost savings don’t have to stop there. Hopefully, the process of starting your own seeds might inspire you to save seeds from your plants for the next season. Thus, your garden becomes a self-sustaining resource. You may never have to buy seeds again!
Finally, as I alluded to earlier, starting your own seeds is a crash course for beginner gardeners in the life cycle of a plant. If you can raise a plant from a tender green to a powerhouse producer, you’ll be a more confident gardener.
I know you can do it. Just make sure to avoid the following beginner mistakes when starting your own seeds.
Mistakes to Avoid When Starting Seeds Indoors
Here are some of the tips I wish I had when I first began starting my own seeds indoors.

- Too little light
The most important resource plants need to grow in the earlier stages of life is light. If you are planning on starting seeds indoors, you will need to be brutally honest with yourself about whether there is enough natural light in your home to grow a plant.
At the very least, place your seedlings by a window where they will receive at least 12 hours of sunlight a day. A south-facing window is best for this. I have had luck placing my seedlings in a plastic-protected greenhouse by a south-facing window in my apartment. This protects the plants from harsh temperature fluctuations being near a drafty window.
Growing your plants under fluorescent lights ensures they get enough light, but involves a little more setup. You can buy “grow lights” that are marketed specifically for this purpose. Hang them as close as two inches from your plants.
A seedling with an unusually long stem is a surefire sign your plant is not getting enough light. We refer to these as ‘leggy’ seedlings. They are long because they are reaching for the light! Place your plants under grow lights if your natural light isn’t cutting it. - Overwatering
The possibility of overwatering can seem counterintuitive to a beginner gardener. Don’t plants need water to grow? This is true, but there are risks of too much water–especially at the delicate germination and seedling stages.
Watering with too blunt of an instrument like a watering can at the outset can disturb the seed before it has even germinated. I have flooded my peat pots with water, spilling the seeds out over the sides. You can’t grow a seed that isn’t planted!
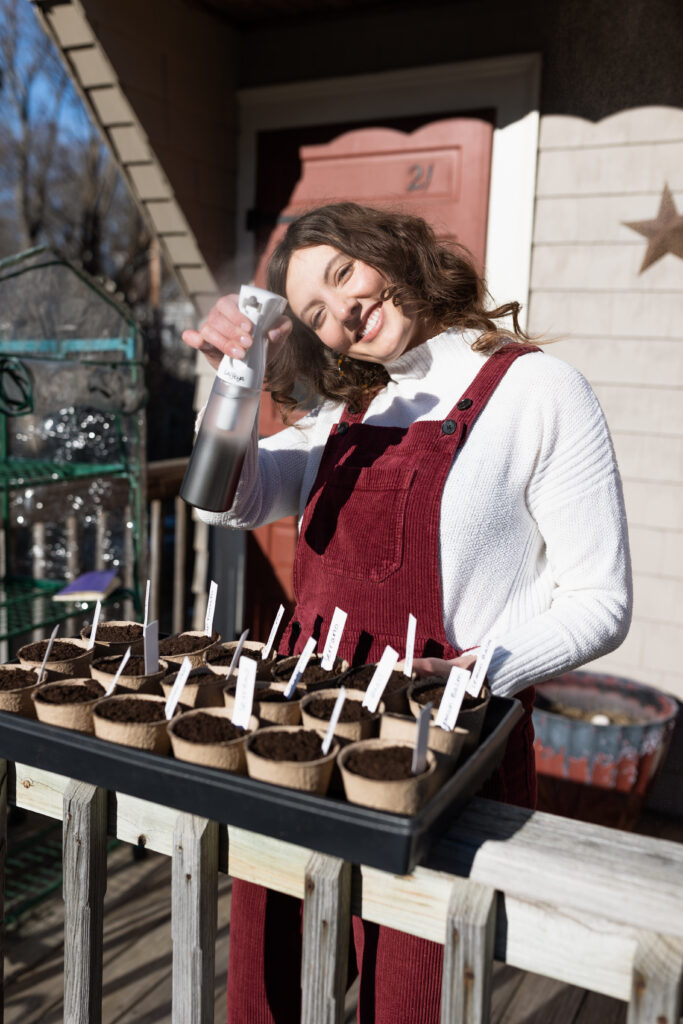
It’s important to instead gently spray your germinating seeds and small seedlings with a spray bottle. This is my favorite spray bottle for plants because of its delicate, fine mist. It’s seriously almost aerosolized, I swear.
Keep soil moist during the germination phase. Clear out any excess water from the trays below the pots to avoid mold. - Starting in egg cartons
Reduce, reuse, recycle any chance you get. However, recycled egg cartons may not be the best vessels for starting seeds.
Seedlings actually need a decent amount of space for their roots to grow. Healthy roots mean a healthy plant that is able to support a big first set of leaves and able to survive the transition to the outside world.
An egg carton just doesn’t have enough space and depth for most plants to grow up healthy and strong.
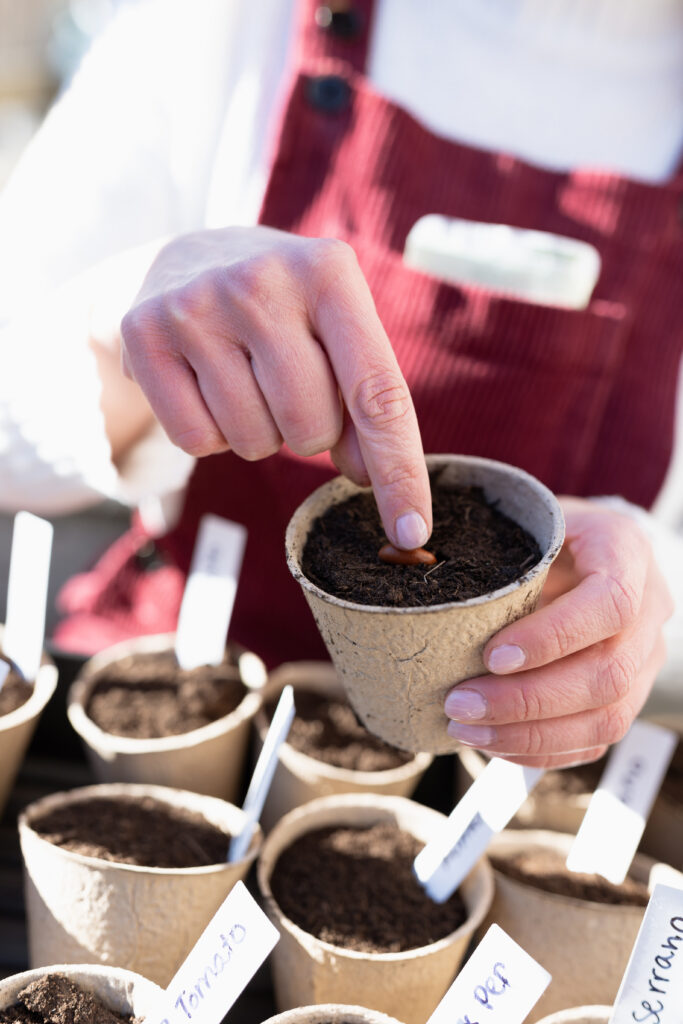
There are several container options to choose from when sowing your seeds. Most plants should be planted one seed to a container. Make sure there is a hole at the bottom for drainage. My favorite seed starting containers are organic and biodegradable peat pots.
- Ignoring instructions on seed packet
All garden plants (vegetables, fruits, flowers, etc.) have specific needs relative to germination, planting, soil temperatures, etc. Even different varietals of a certain type of plant may have different specifications (cherry tomato vs. beefsteak tomato).
All of this information can be found on the seed packet.
Do your seeds even want to be started inside? Many vegetables (particularly root vegetables like radishes, beets, carrots) are so hardy it’s basically pointless to start them inside. You can just throw these seeds in the ground at the appropriate time. What is the appropriate time? You can find that on the seed packet. - Not researching best times for planting in your area
Growing seasons are generally determined by the average date of last frost in the spring and the average date of last frost in the fall (although there are some strategies to extend your growing season–that is another blog post).
The information on the seed packet will generally tell you when to sow your seeds indoors or outdoors relative to the date of last frost if planting in the spring or fate of the first frost if planting for the fall.
Use the Farmer’s Almanac website to determine these dates for your area. - Transplanting seedlings too early
Generally, a good rule of thumb to use is a plant is about ready to transplant after it has grown its second set of leaves.
The first set of leaves, called cotyledons, are basically just big solar panels designed to absorb as much light as possible in the first stages of growth. These leaves look wide and generic.
With the second set of leaves, the plant is coming into its own. These leaves are more identifiable and unique to the plant.
Before transplanting outside, you’ll need to ‘harden off’ your seedlings. The hardening off process exposes your plants gradually to the outdoors so they do not experience shock when placed in the ground.
About two weeks before planting outdoors, start bringing your plants outdoors for a few hours during the day. Extend the time outdoors gradually. Bring them indoors at night as it cools. Make sure they are protected from the elements like wind and harsh rain.
At the end of two weeks, ensure the soil temperatures are suitable for planting (i.e. there hasn’t been an unexpected frost) and transplant away!
Have you ever started your own seeds? What did you learn from the process?
Want more gardening tips? Follow me on Instagram to follow along my gardening journey this spring. Feel free to ask me any gardening questions! I love to chat plants.