This post may contain affiliate links, which means that I may receive a commission if you make a purchase using these links.
The thought of starting a new garden from scratch may sound daunting.
It conjures the humble farmer working the land dusk to dawn. Surely you need a limber back, superhuman strength, or a work horse to help do the tilling?
But what if I told you the healthiest gardens don’t require any back-breaking digging and starting a garden is a project that can be completed in a single morning or afternoon?
That’s right–with a few materials on hand you can pick a plot in the morning and have seeds in the ground by lunchtime.
Replace your lawn or a sorry patch of weeds with a brilliant garden of vegetables, flowers, shrubs, etc. in very little time with the no-dig gardening method.
Not only is no-dig gardening easier on you, it is the best option for healthy soil and plants.
Why No-Dig Gardening is the Healthiest Option for Your Plants and the Planet
Tilling or “turning over” the soil was long thought to be the necessary first step in starting a garden or preparing a piece of land for farming.
The theory behind tilling is that it aerates the soil and brings a burst of microbial activity that is beneficial to plant growth. While this is true, the benefits are usually short-lived as the microbes in the soil burn up organic matter at an unsustainable rate with the artificial introduction of excess oxygen.
Plants may appear healthy for a time, but soils will be depleted after even a few years of this practice (such is the case in so much of America’s farmland.)
Tilling also destroys the tiny, intricate capillaries in the soil (either there naturally or created by earthworms) that allow for the steady absorption of water. Without this delicate structure, erosion and runoff may occur.
Leaving the soil undisturbed also protects the natural layer of organic matter on top of the soil to protect your plants’ roots from the elements–whether that be the harsh summer sun or a cold, heavy rain.
By practicing no-dig gardening, you are protecting your layer of topsoil, or the top five to 10 inches of soil in your yard. Topsoil is one of Earth’s most precious resources as it can take more than 100 years to properly build even 5 mm of healthy soil.
Building the Soil From the Top-Down
In lieu of tilling, we are going to be feeding and building your soil from the top-down.
To accomplish this you will need to kill off anything that is growing in your chosen garden site (i.g. grass if you’re starting your garden in a piece of your lawn) and allow that organic matter to feed your future plants.
This somewhat gruesome-sounding process allows you to maintain the integrity of your top soil while assuring your plants’ health for years to come. (Don’t worry, we won’t be using any weed killers or other nasties.)
From there, you will layer on fertilizer, compost, and mulch to feed your soil and your plants.
The no-dig method doesn’t just save you work up front, it also ensures less work overall. By choosing this method, you will be able to skip the annual slog of turning over your garden and constant weeding.
Read on for the exact steps to grow your healthiest garden ever with the least amount of effort.
Materials to Start Your No-Dig Garden
To start your garden you’ll need:
- Plot of land (any size–can be lawn, dirt, weeds, former overgrown garden, etc.)
- Fertilizer with around 5% nitrogen (affiliate)
- Newspaper (black & white–try to avoid color ink)
- Compost (especially if starting seeds)
- Mulch (straw, bark chips, wood chips, grass clippings, compost, seaweed, etc.)
Steps to Start Your No-Dig Garden
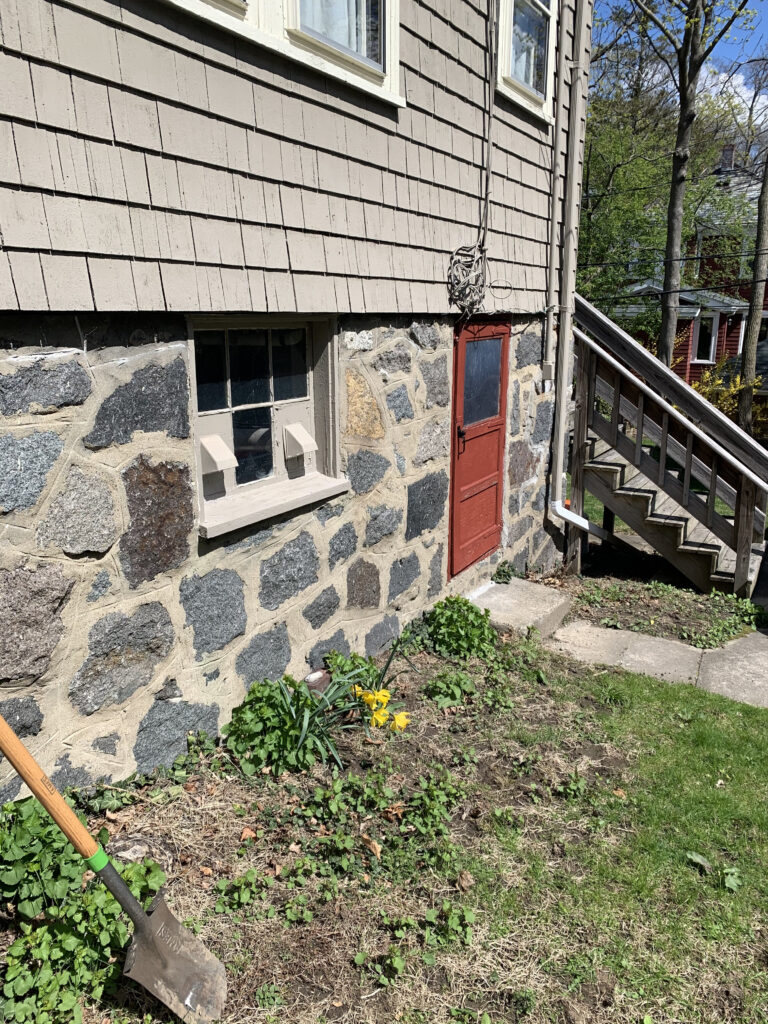
- Plan a spot for your new garden. The right location will depend on what you are planting. A vegetable garden will need six to eight hours of sunlight a day, for example.
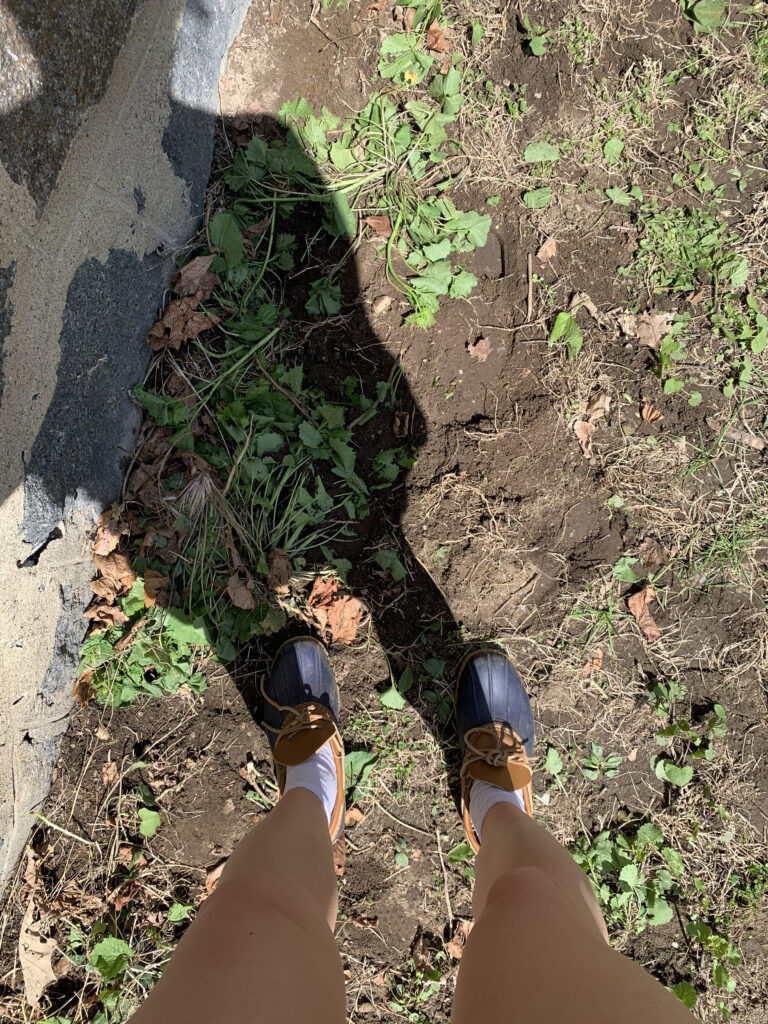
- Stomp or cut down any existing vegetation. Whatever is growing in your garden plot needs to die so it can feed your future plants (RIP, we thank them for their service).
If you’re starting a garden on top of your existing lawn, just mow the lawn. Weeds or other stragglers can be stomped down or otherwise cut with gardening shears or a weedwhacker. Your goal is to cut the vegetation down so it’s close to the ground as possible and even enough to layer on top.
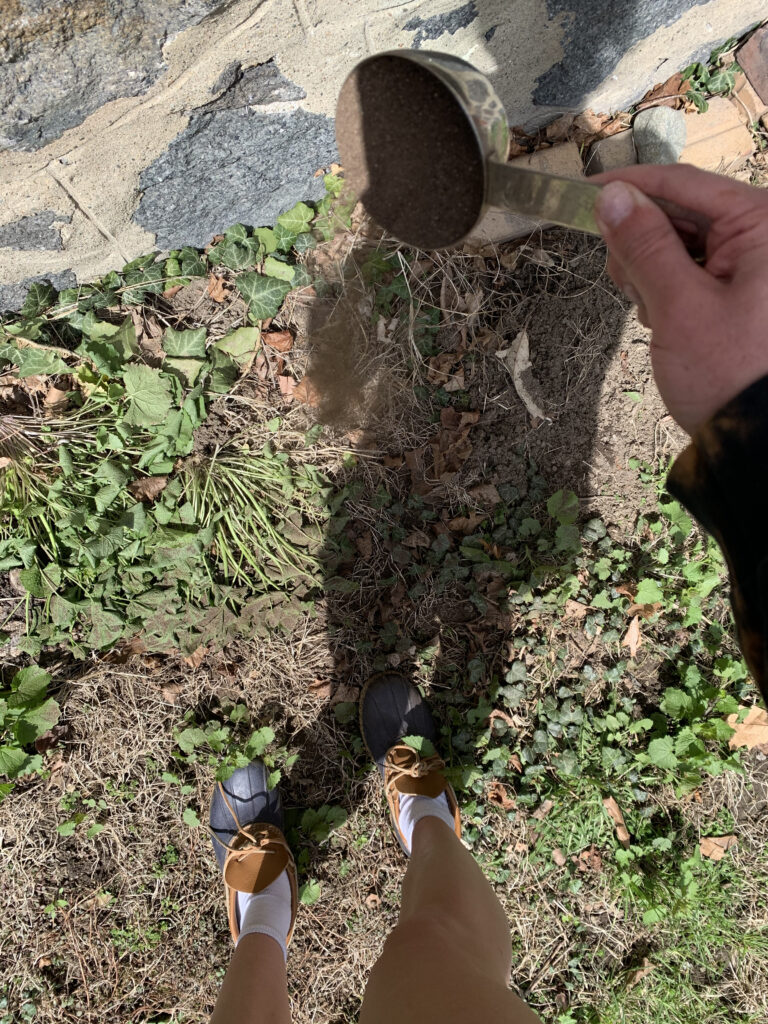
- Spread about six cups of fertilizer for every 100 square feet of garden. The fertilizer should contain around 5% percent nitrogen, but you can adjust your amounts based on this percentage. For instance, this bat guano fertilizer (affiliate) contains 10% nitrogen, so you would use about three cups per 100 square feet of planted area. In addition to nitrogen, choose a “complete” fertilizer that also has a good blend of potassium and phosphate.
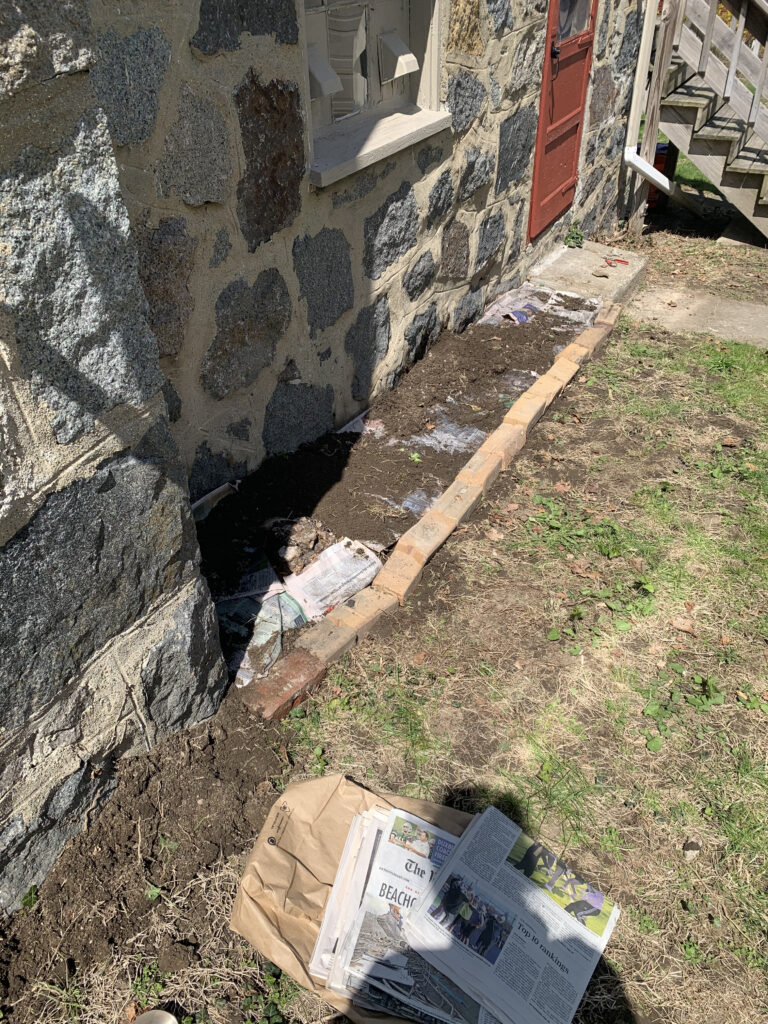
- Cover the surface area of your garden with at least four layers of newspaper. The idea is to suffocate the existing vegetation. Without access to sunlight, the plants underneath will die.
Grass will easily die underneath four layers of newspaper. You may need to add a thicker layer on top of hardier weeds.
- Wet the layer of newspaper. This softens the paper and begins the decomposition process. Eventually your plants will put down roots through the newspaper layer.
- Cover the newspaper with one to three inches of compost.
If you are starting seeds, you can sow directly into the layer. As your sprouts grow, the roots will be able to penetrate the newspaper and grow into the soil below. Keep moist until plants germinate. See seed packets for specific instructions.
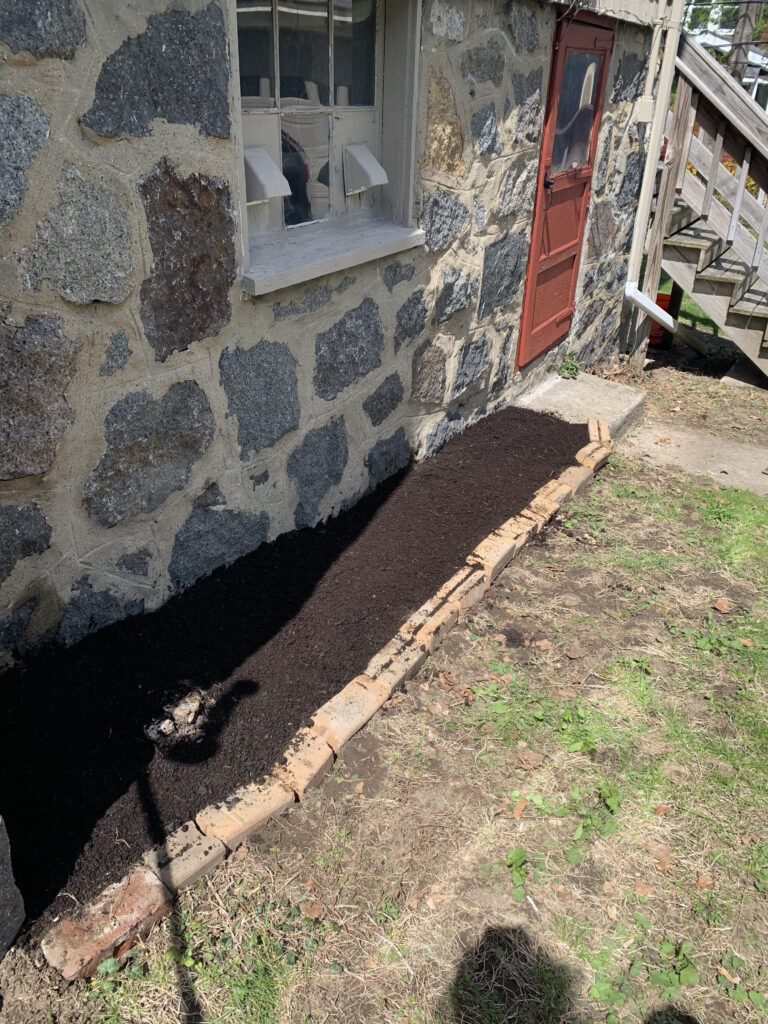
If you have plants ready to go in the ground, cut an X into the newspaper and tuck your plant in. Add your chosen mulch around the plants. - Edge your garden. This is an optional step, but edging your garden with a barrier will help keep weeds and other interlopers out. A physical barrier like brick, cinder blocks, wood, or plastic edging can be an attractive option. Alternatively, you can simply use a half moon edging tool (affiliate) to create a chasm between your garden and the rest of your space.
Starting a new garden from scratch doesn’t have to be back-breaking work. In fact, I hope this guide has demonstrated how no-dig gardening is not only the easiest option for you, but the healthiest option for your soil and plants.
To learn more about the no-dig gardening method, check out the book Weedless Gardening by Lee Reich (affiliate).
