This post may contain affiliate links, which means that I may receive a commission if you make a purchase using these links.
Looking to nourish your garden with sheet mulching? Learn all about this mulching technique that is guaranteed to boost your veggies, fruits, and flowers for seasons to come.
Listen, I love composting as much as the next urban homesteader (in fact, I wrote complete guides on home composting and apartment composting) but I recognize its limitations.
What are those, you say?! First, it’s difficult for a home composting operation to produce enough compost to supply multiple garden beds. Second, hauling the finished compost from the pile to the bed is a lot of work!
What if I told you there is an easier solution to providing your plants all the benefits they get from compost without the hassle? Enter: sheet mulching.
Hi, I’m Leslie!

My name is Leslie, and I’m the founder of PunkMed! On my blog, I and my team share info, experiences, and recommendations in the area of sustainability, urban homesteading, and all things gardening. Our goal is to help you slow down and savor the small joys in life through sustainable practices (including sheet mulching!)
In today’s post, I’m sharing my steps to sheet mulching in the garden. These recommendations come from my years of experience using sheet mulching techniques to make new garden beds in my tiny apartment backyard in the city.
Honestly, my veggies and flowers have never looked healthier. I’m a firm believer in the power of sheet mulch!
Let’s get into it!
This post is all about sheet mulching.
What is Sheet Mulching?
Like many sustainable gardening practices, sheet mulching mimics the power of nature. Sheet mulching, also known as lasagna gardening or composting in place, consists layers of organic materials allowed to decompose in place. Sheet mulch feeds soil from the top down–much like the soil in a forest is naturally fed from decomposing leaves.
In its simplest form, sheet mulching consists of two elements:
- First, there must be a weed suppressing layer that will kill any existing vegetation and dormant weed seeds. This is usually a thick layer of newspaper or cardboard.
- Second, there should be about a foot of soil-building organic mulch. The exact materials in this layer will depend on the materials you have on hand and the unique needs of your soil.
Over time, these materials break down to provide your plants the benefits of decomposition: readily available nutrients, a diverse microbial community, and habitat for worms and other beneficial insects.
Benefits of Sheet Mulching
There are numerous benefits of sheet mulching:
- Efficiency: Sheet mulching you to cover a lot of ground. There is nothing more satisfying than admiring the swaths of freshly laid newspaper that will be your new gardens!
- Ease: Sheet mulching removes the need for tilling. (FYI, if you’re new here–tilling destroys soil ecology. Learn more about how to start a no till garden with a stripped-down version of sheet mulching.) By smothering vegetation with a layer of newspaper or cardboard, you’ll be amazed by how little weeding you’ll need to do throughout the growing season!
- Soil improvement: Sheet mulching contributes to soil fertility by providing a continuous supply of organic matter. As the mulch breaks down, it adds nutrients to the soil, enhancing its structure and fertility. This process also encourages beneficial microbial activity in the soil.
- Biodiversity: The plants in your garden benefit from the intact soil ecology provided by sheet mulch. The layers of decomposition become a healthy habitat for a diverse set of microbes, fungi, worms, and other beneficial organisms.
- Water retention: The mulch acts as a natural moisture barrier, reducing water evaporation from the soil. This helps to retain soil moisture, making it more resilient to drought conditions and reducing the need for frequent watering.
- Temperature regulation: Sheet mulching provides insulation to the soil, helping to regulate temperature extremes. It keeps the soil cooler in hot weather and warmer in cold weather, creating a more stable and favorable environment for plant roots.
- Low maintenance: Once established, sheet mulch requires minimal maintenance. It suppresses weeds, retains moisture, and provides ongoing benefits to the soil without the need for frequent interventions.
Sheet Mulch Materials
The volumes listed below cover about 100 square feet. Adjust the volumes according to your own needs.
- Two-foot stack of newspaper (glossy pages removed) OR 200 square feet of cardboard (staples and plastic tape removed)
- Soil amendments like lime, rock phosphate, or bonemeal (optional, dependent of the needs of your soil)
- Bulk organic matter like stray, spoiled hay, dried leaves, yard waste, or finely ground bark (108 cubic feet)
- Compost (6-15 cubic feet)
- Manure (6-27 cubic feet, depending on the concentration of the manure–e.g. 6 cubic feet of steer manure is plenty)
- Top layer of seed-free material like straw, dry leaves, wood shavings, bark, etc. (27 cubic feet)
Steps to Sheet Mulching
#1 Determine your sheet mulching site. Sheet mulch can be placed on an existing bed or used to start a new garden–even top of on existing vegetation, like a lawn.
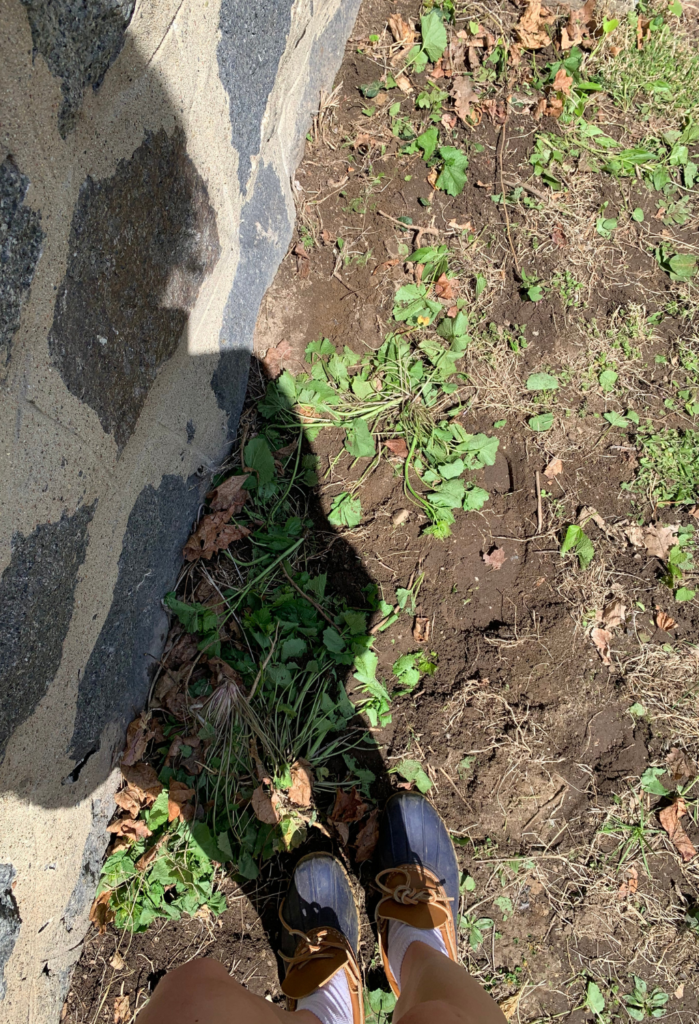
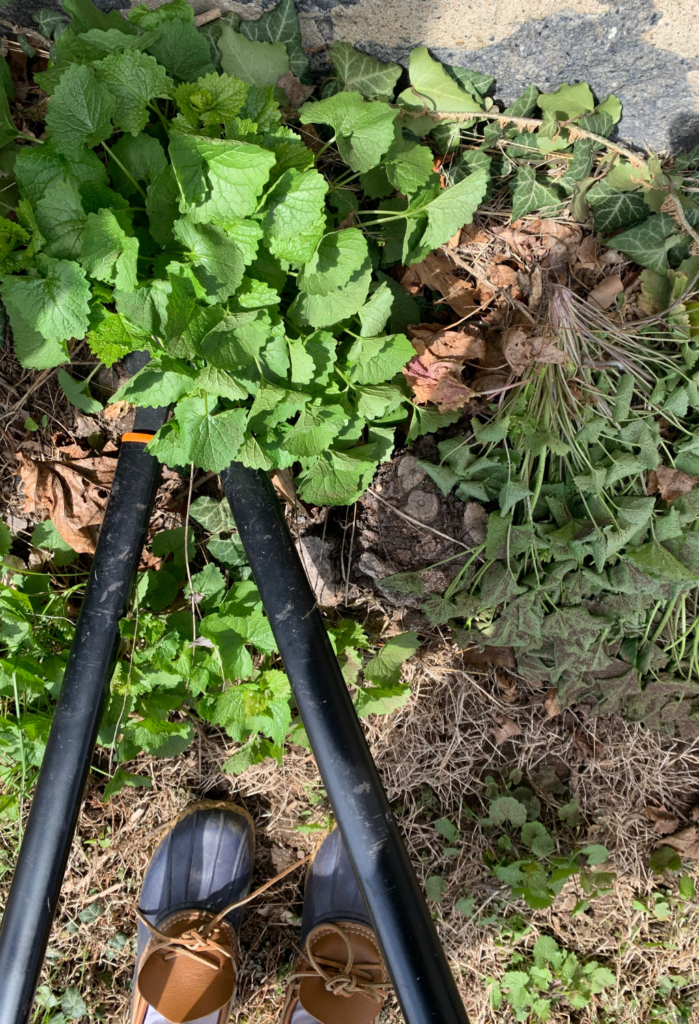
#2 Mow down existing vegetation. If you are starting a new garden, cut, mow, or stomp down any existing vegetation to make an even surface close to the earth. Short cut grass can be left as is. Use heavy branch cutters to take down woodier plants. Clippings can be left where they are–they will contribute their nutrients to the mulch as they decompose.
#3 Add soil amendments. This step is optional, depending on the needs of your soil. Obtain a soil test to assess the quality of your soil.
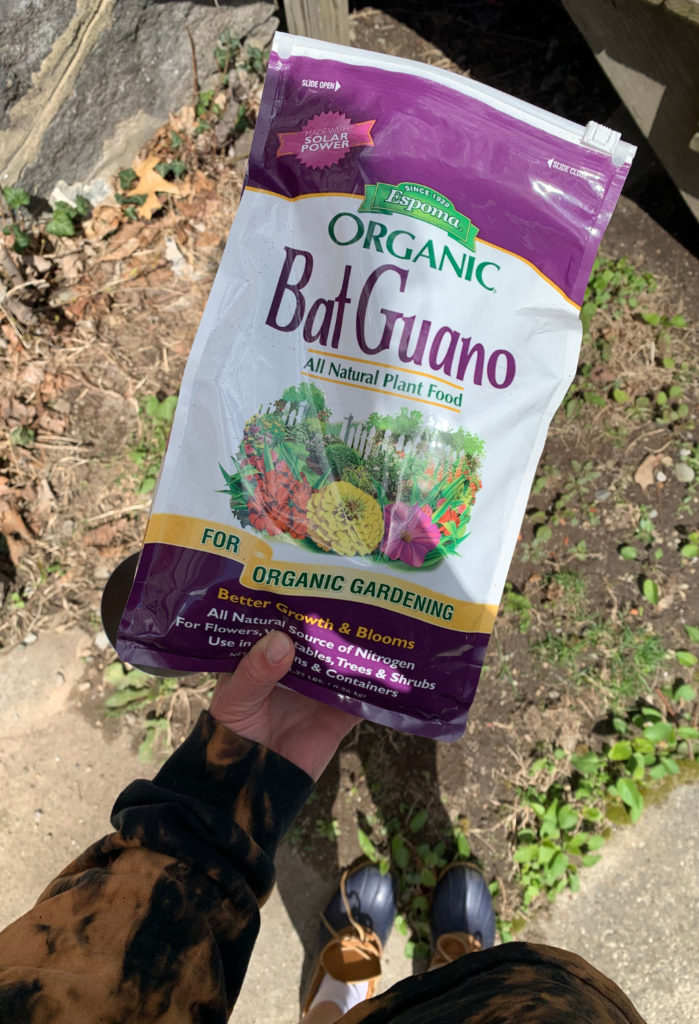
#4 Add a thin layer of manure. Highly concentrated manure (like steer manure without a lot of bedding) can go on about 1/4″ thick. Pro tip: You can substitute the manure layers for other high-nitrogen material like blood meal, grass clippings, or fresh greens. Blood meal is highly concentrated an should be spread just to cover the ground. Grass clippings and fresh greens can go on about 1″ thick.
#5 Law down newspaper or cardboard. Lay down a 1/4″ thick layer of newspaper or cardboard. The paper should overlap by at least 6″ so that it completely blocks light from reaching the plants and dormant seeds below, thus suppressing weeds.
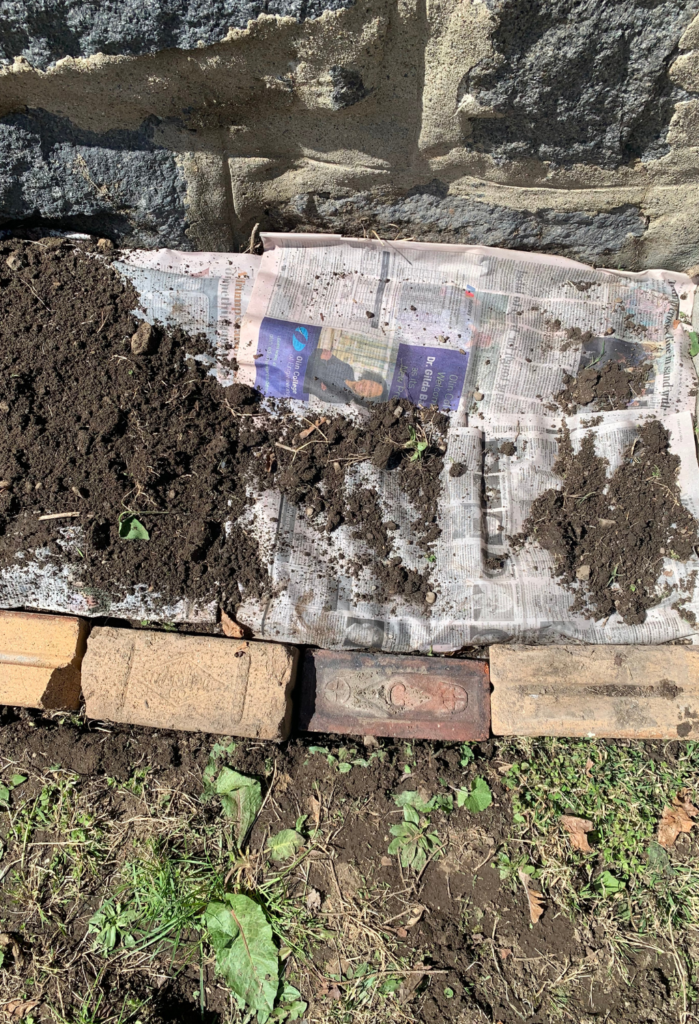
#6 Wet the paper layer. Use a hose to wet the newspaper or cardboard layer as you work. If you’re covering a large area, you’ll want to work in sections so you don’t step on the paper. This step jumpstarts the decomposition process, as microbes in the soil need moisture to work.
#7 Add another thin layer of manure. Again, this will be about 1/4″-1″ thick depending on the concentration.
#8 Lay down bulk organic matter. Add about 8-12″ of your chosen bulk organic matter, like stray, spoiled hay, dried leaves, yard waste, or finely ground bark. I personally love straw for this–is so easy to peel layers of straw from the bales!
#9 Water the bulk organic matter every few inches. You want this layer to be damp, but not wet–like a wrung out sponge. Again, the microbes in the sheet mulch love a little moisture.
#10 Add 1-2″ of compost. If you don’t have any compost, but you do have time this layer can be substituted with manure or other easily compostable material. However, if you plant to plant on top of the sheet mulch within a couple weeks you need the layer of compost to act as a seedbed (i.e. where you will plant the seeds.)
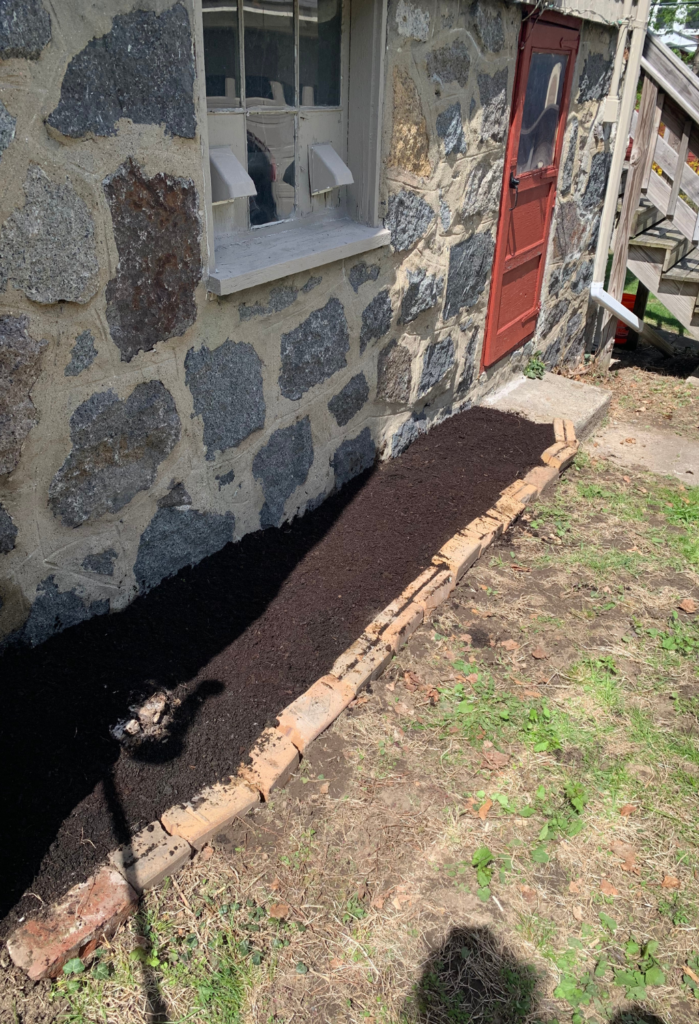
#11 Add 2″ of seed-free material. You can use straw here again, as it is seed-free–but you wouldn’t be able to use hay. For planting seeds and starts, push aside the top layer to plant in the compost below.
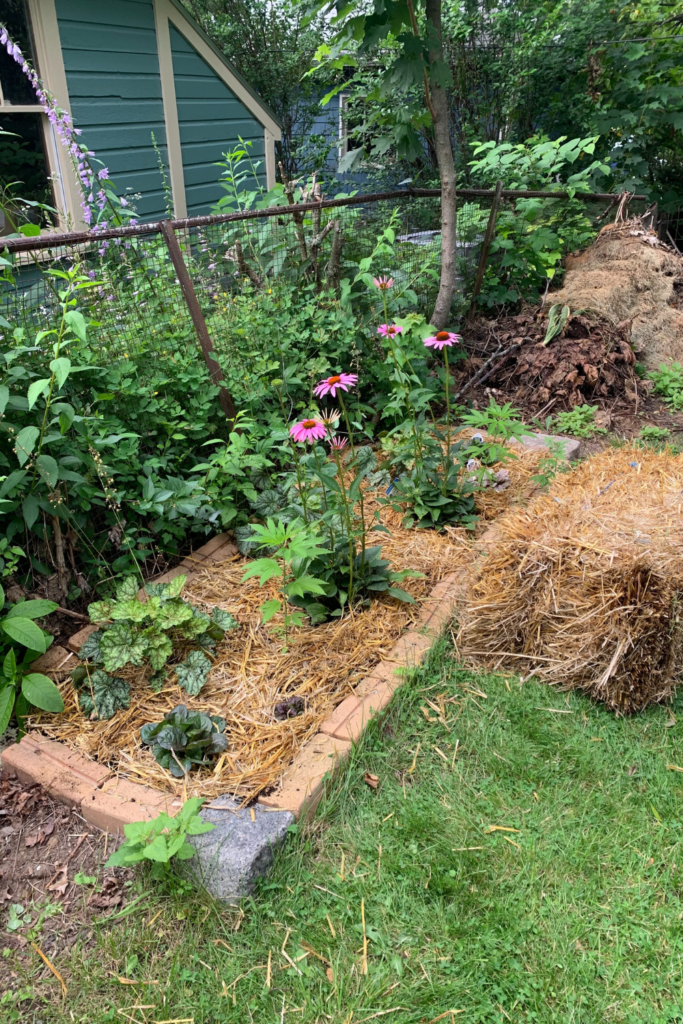
When to Sheet Mulch
The short answer is you can sheet mulch anytime! Many people lay down sheet mulch in the fall so it has time to decompose by planting tim ein the spring.
This post was was all about sheet mulching.
