This post may contain affiliate links, which means that I may receive a commission if you make a purchase using these links.
Starting a no till garden is easier than you might think if you follow this simple guide. After gathering your materials, this project can easily be knocked out in an afternoon.
No till gardening (AKA no dig gardening) has become all the rage in gardening circles recently, and for good reason!
No dig gardening is a far cry from the gardening practices I grew up with. I remember my dad “turning over the garden” over the course of a weekend every spring to prepare the garden for the growing season. He was pretty grumpy by the end of it!
The theory behind “turning over the garden” or tilling is that it aerates the garden and the increased oxygen enhances beneficial microbes in the soil.
We now know that this enhanced microbial activity is only temporary, and depletes soil over time. Plus, as my dad can testify, tilling is a hassle.
I am proud to say that I’ve been practicing no till gardening for almost 10 years now, and I’m so excited to share my step-by-step process for starting a no till garden today on the blog!
Hi, I’m Leslie!
My name is Leslie, and I’m the founder of PunkMed! On my blog, I and my team share my info, experiences, and recommendations in the area of sustainability, urban homesteading, and gardening. Our goal is to make it less overwhelming for you to live a fun and sustainable life!
In today’s post, I’m sharing my steps to starting a no dig garden. These ideas come from my years of experience no till gardening in Boston, MA!
Let’s get into it!
This post is all about starting a no till garden.
What Is a No Till Garden?
A no till garden is one where the soil is minimally disturbed (i.e., not tilled) in an effort to maintain (and even boost) the health of the soil. This means the garden is not tilled, dug up, or turned over.
Instead, the soil is fortified from the top down via compost and other mulches (straw, wood chips, etc.)
A no dig garden takes cues from mother nature. The soft soil of the forest floor is fed from above by the decaying natural compost of the falling leaves year after year with no intervention. Like the forest floor, the no till garden is fed from above by a yearly dressing of compost, and not much more work on our end.
Why Practice No Till Gardening?
No till gardening is simply the easiest method.
First, with no dig gardening, you eliminate the back-breaking work of tilling the garden every spring. Instead, plants are fed from the top-town via a yearly dressing of compost and/or other mulch options.
Second, weeds are naturally suppressed in a no till garden.
Traditional tilling aerates the soil so that the temporary boost of oxygen not only increases the microbial life, but also activates the dormant seeds that may be present. The weeds that sprout from these seeds often grow very well right after a till.
By following the steps below, you will initially suppress weeds with a layer of paper that kills the weeds below. From there, your yearly dressing of mulch should suppress most weeds, keeping the weeding necessary to a minimum.
How to Start a No Till Garden
Step #1 Pick a Location
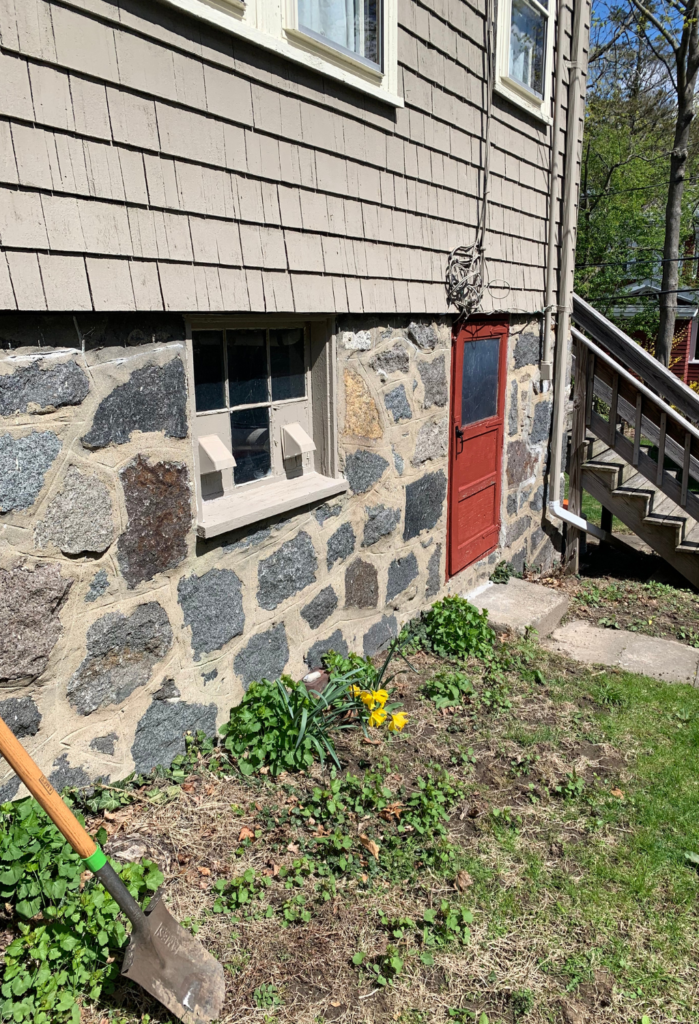
First, you’ll need to pick a spot for your new no till garden. The ideal location will be dependent upon what you are growing (whether that be vegetables, flowers, trees, shrubs or vines) and how much sun each plant requires. The general rule of thumb is that vegetable gardens need need full sun, which is around 6 to 8 hours a day.
Don’t worry about any existing vegetation in your selected location. In the coming steps, we will stamp or mow this down! A no till garden can be placed almost anywhere, including a meadow, lawn, or weedy area.
Step #2 Fertilize
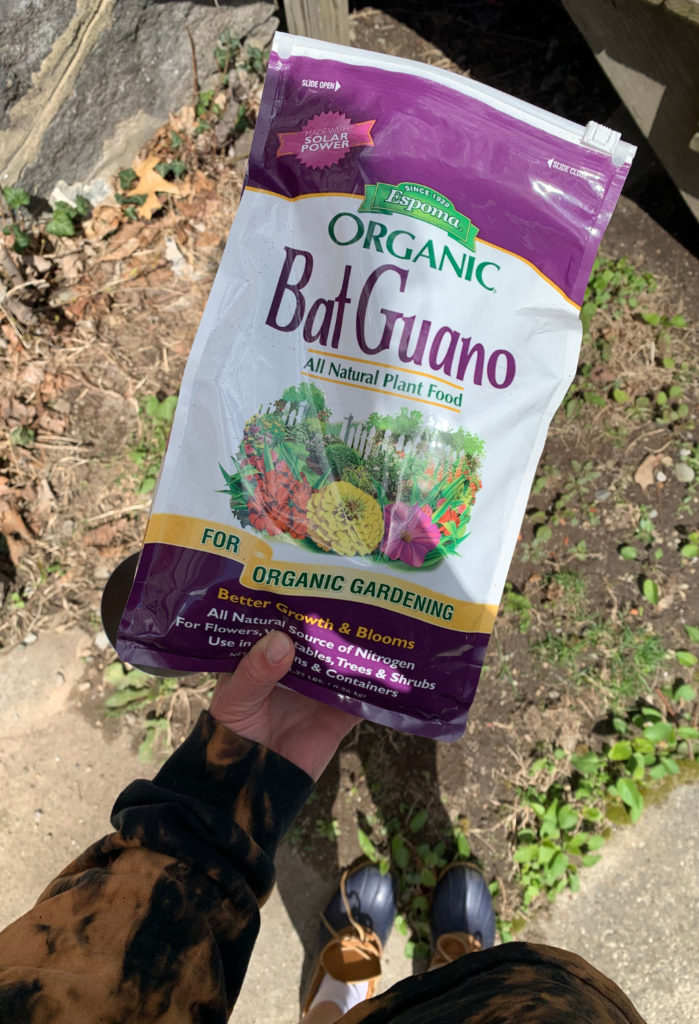
Next, fertilize the selected area for your no till garden.
There are many types of fertilizers. Any complete fertilizer that contains nitrogen, phosphorus, and potassium (often called “NPK”) will work.
Check the NPK values on your chosen fertilizer, often prominently displayed as three digits on the front of the packaging. For example, a 4-4-4 fertilizer contains 4% nitrogen, 4% phosphorus, and 4% potassium.
Fertilize the area using the following formula: for every 100 square feet of planted area, spread 6 cups of any fertilizer that contains 5 percent nitrogen. Adjust the formula for your fertilizer’s specific nitrogen value.
Step #3 Cut, Mow or Stamp Down Vegetation
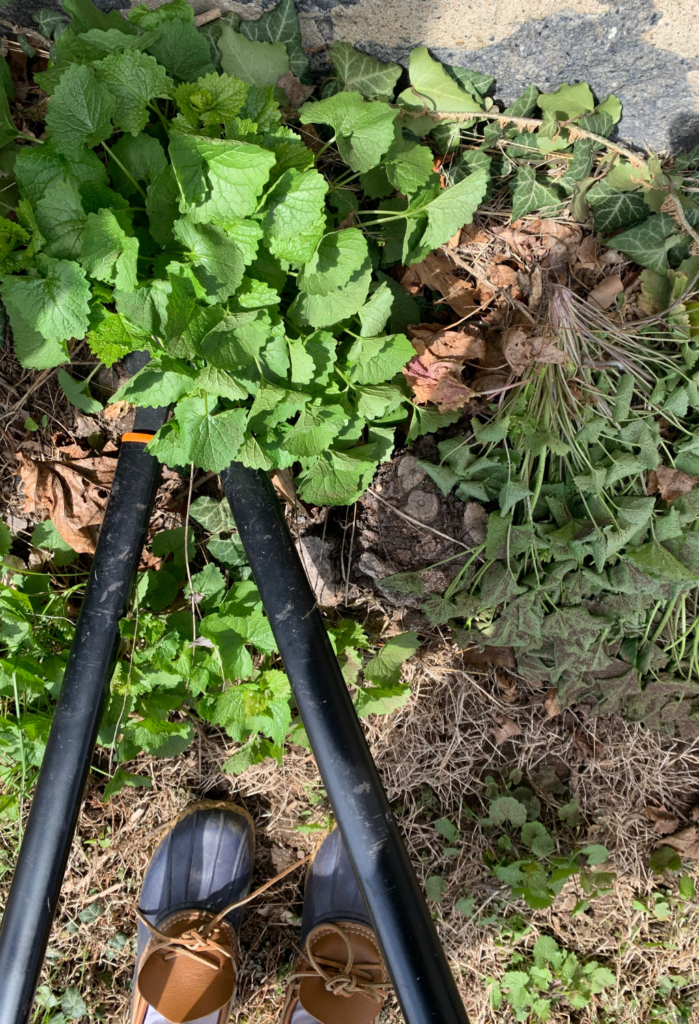
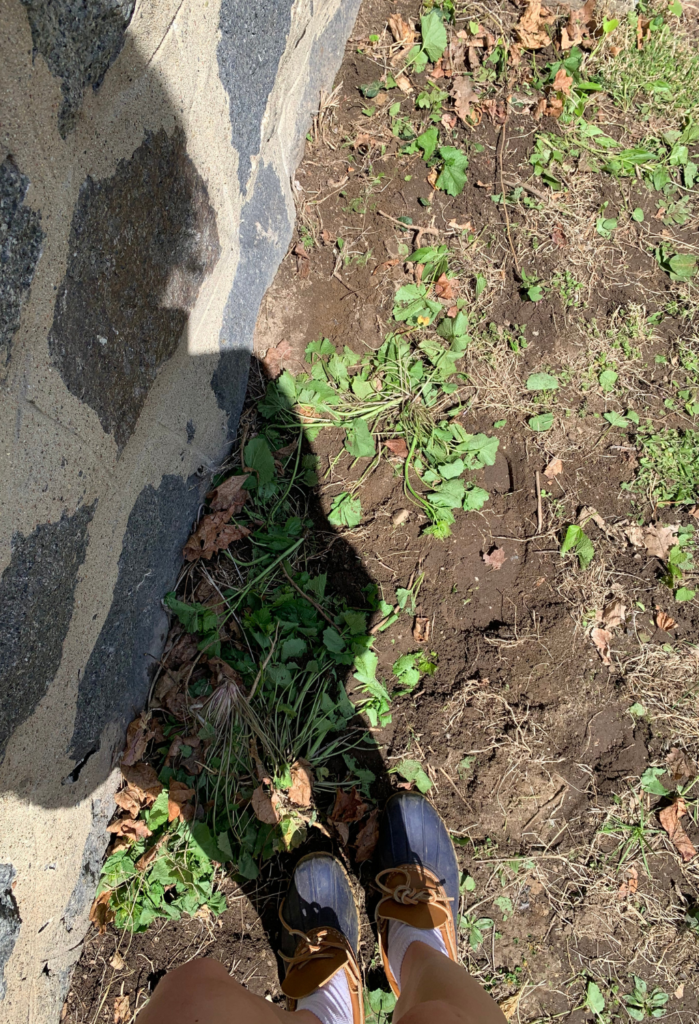
Next, you will need to create level ground for planting your new no dig garden.
Cut, mow, or simply stomp down any existing vegetation to make an even surface as close to the earth as possible.
Often a variety of methods works best. I cut down larger weeds and vines with a heavy branch cutter, stomp down the remaining plants, and mow for a closer shave. A power mow is not necessary, but the clippings do jumpstart the decomposition process.
Step #4 Lay Down Paper
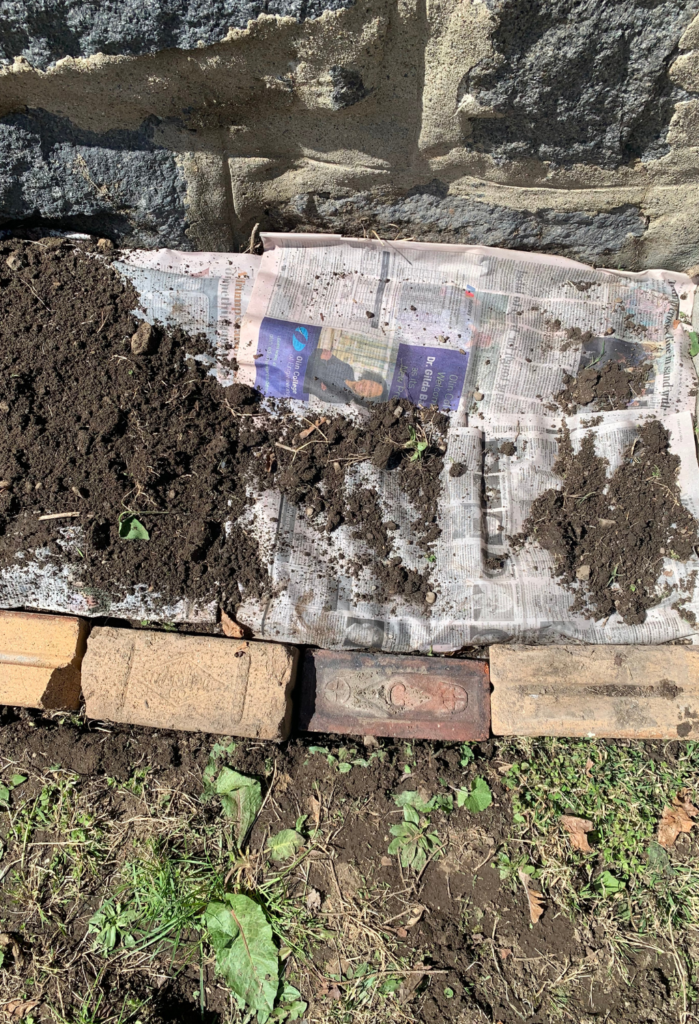
So far, you have cut down the existing vegetation in your chosen location, but you have not killed it. The roots remain alive and ready to put out new shoots and leaves.
To prevent this and fully kill the existing weeds, place a layer of paper down over your new garden plot. This will starve the roots of necessary sunlight, and they’ll die within a few days.
Newspaper works well for this task, if you happen to have any laying around. (If not, ask your neighbors, or visit a local recycling center!) Four layers of newspaper should do the trick, and make sure the sheets are overlapping so weeds underneath are completely smothered.
If you can’t find any newspaper, you can use a single layer of landscape barrier paper.
If you are transplanting established plants, cut X’s in the newpaper layer with a knife, shovel, or other sharp tool. This is where you will place the transplants later, tucking their roots underneath the newspaper.
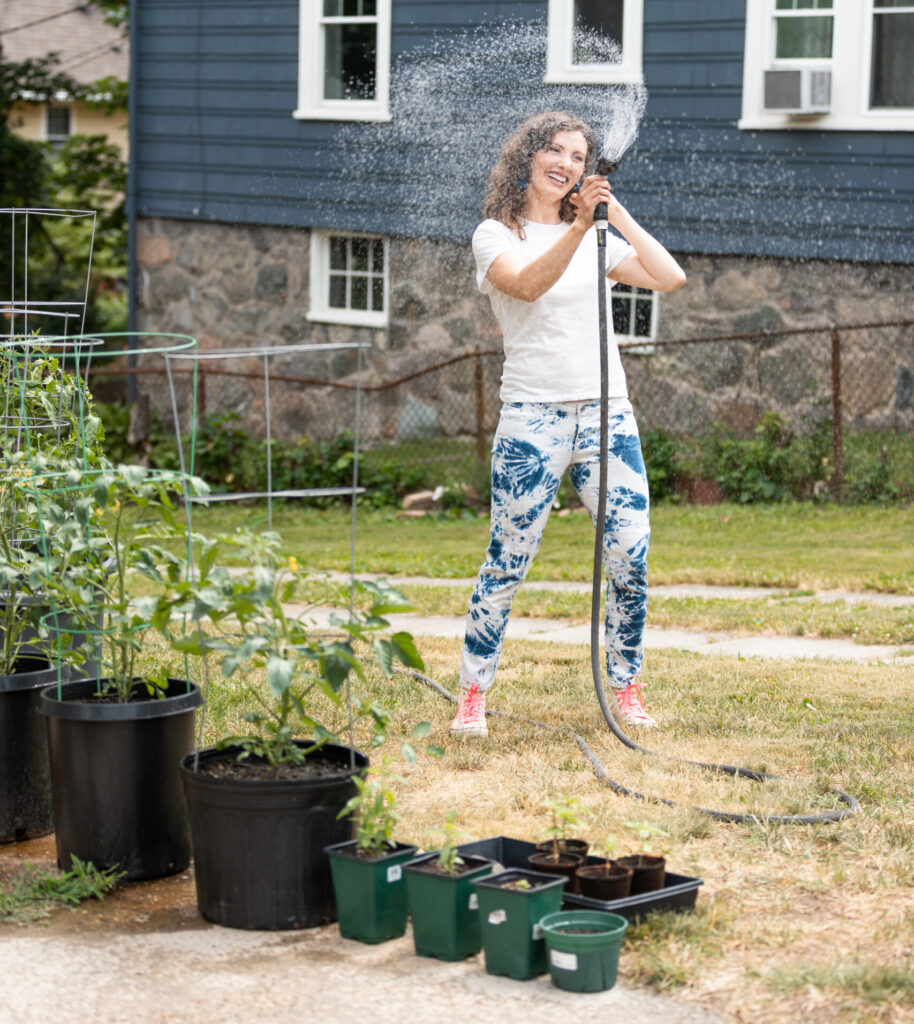
Finally, grab your hose and wet the newspaper layer to weigh it down and kickstart the decomposition process.
Step #5 Add Compost or Other Mulch Layer
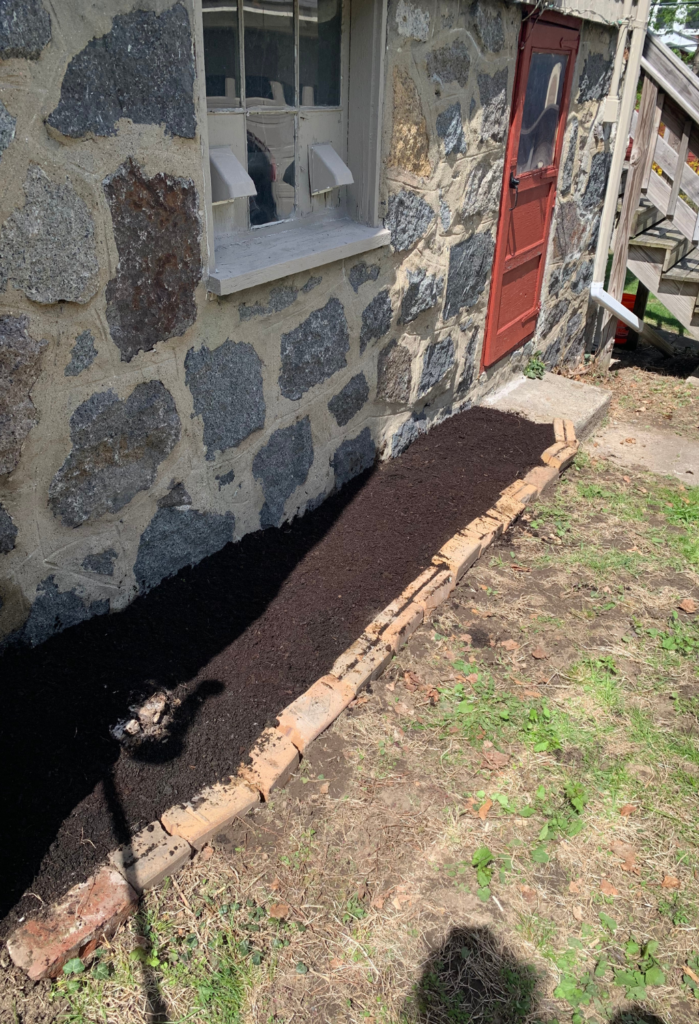
Next, depending on what you are planting in your new no dig garden, you will need to add a compost or other mulch layer.
Mulch is a general term that refers to materials that act as ground cover to protect your plants’ roots from the elements. There are many mulch options, including:
- Compost
- Wood chips
- Straw
- Leaves
- Grass clippings
- Sawdust
- Seaweed
The mulch layer serves multiple purposes. First, the mulch layer will weigh your layer of paper down so it doesn’t get blown away by the wind.
No Dig Garden Compost
Importantly, if you are planting seeds or small transplants you will need a layer of compost to act as your growing medium. You’ll need a layer of compost thick enough to plant in (about 3″ deep).
Additionally, compost is an extremely nutrient-dense medium that will feed your plants through the growing season.

I always use my favorite Coast of Maine Compost.
Trees, shrubs, and established plants do well with an additional layer of a heartier mulch. One of my favorite mulches is straw.
Step #6 Plant
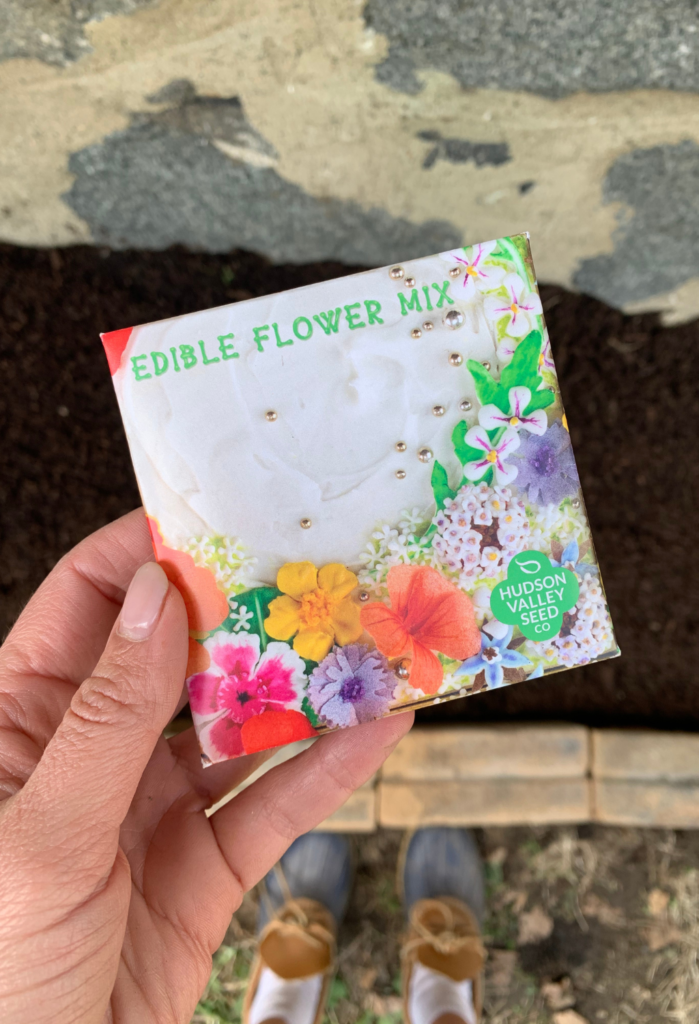
If you’re planting seeds, bury your seeds into the compost layer at the depth specified on the seed packet.
If you’re transplanting establish plants, tuck the roots underneath the newspaper layer through the X-shaped holes you made in Step #4. Mulch as necessary.
Water, and enjoy your new no till garden!
This post was all about starting a no till garden.