This post may contain affiliate links, which means that I may receive a commission if you make a purchase using these links.
This is the complete guide on how to make maple syrup. Learn the process step-by-step, from identifying and tapping the trees, to boiling the sap.
Growing up in New England, maple syrup was part of the culture. Of course we enjoyed maple syrup on our pancakes like many Americans, but I was even lucky enough to visit multiple “maple sugaring” events and tours held at local farms.
Maple syrup is made commercially throughout the Eastern United States and Canada. These areas are home to the sugar maple (Acer saccharum), the tree supplying most commercial maple syrup production.
Despite my upbringing, it wasn’t until a few years ago when my dad retired that we began our own maple sugaring adventure at home. Since then, I have learned the entire process of making maple syrup at home from him.
If you have access to a few maple trees, I highly recommend learning how to make maple syrup. It’s a rewarding hobby that yields one of nature’s most delicious products.
Plus, maple sap is one of the only forage-able items at the end of winter/early spring in the Northeast. For me, maple sugaring is always welcome sign of spring!
This post is all about how to make maple syrup.
How is Maple Syrup Made?
Sap is a liquid inside trees that is responsible for transporting nutrients throughout the tree. Think of sap as like the trees’ blood! Sap is mostly made of water, but it contains a small amount of sugar, mostly in the form of sucrose.
Maple syrup is made by boiling maple sap. As the water evaporates, it leaves behind the sugars to create a concentrated sweet syrup.
Native Americans made maple syrup for a long time before colonial settlers came and adopted the practice. Today, maple syrup is a big industry, especially in Canada. However, it is possible to make your own maple syrup at home if you have access to maple trees.
How to Identify Maple Trees
It’s probably easiest to identify maple trees before they shed their leaves in the fall. I recommend scouting for maples to tap in the spring, summer and fall when they can be more easily identified for tapping (which happens in the winter).
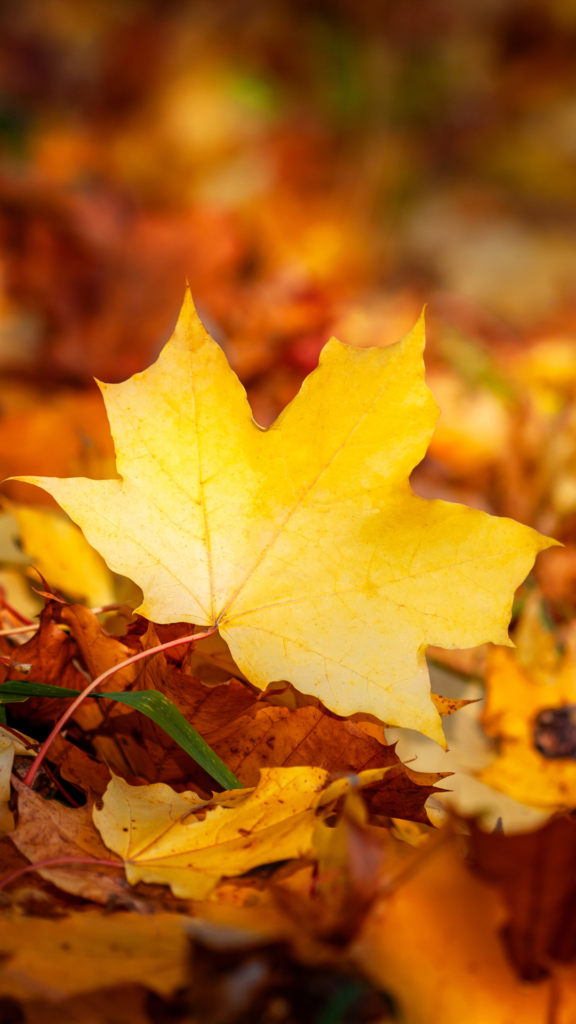
Maple tree leaves are lobed, with veins originating from the center to each point (usually 3-9 lobes depending on the species). Leaves turn brilliant colors (yellow, orange and red depending on the speciies) in the fall. Maple trees are deciduous, meaning they drop their leaves in the fall.
Perhaps the most telling characteristic of the maple tree is it’s fruit. Often called “helicopters” or “whirlybirds,” the maple fruit has two wings attached that spin as they fall.
Maple Tree Species for Making Maple Syrup
While you can tap any maple tree that grows in the Eastern United States and Canada, there are only a couple species that produce enough sap with enough sugar to be considered for making maple syrup. However, I encourage you to experiment with any of the maples below!
Sugar maple (Acer saccharum) – The sugar maple is the primary tree used in commercial maple syrup making because it produces the most sap with the highest sugar content. Sugar maples are long lived and can grow taller than other maples. Their bark has a white-washed, craggy appearance. Most notably, the leaves are 5-lobed with rounded edges between lobes (other maple leaves have angular inner lobes).
Black maple (Acer nigrum) – Black maple is the second favorite of the maple sugaring industry, as it is actually closely related to the sugar maple. The main distinguishing feature is that the black maple has a three-lobed leaf (as opposed to the five lobes of the sugar maple).
Red maple (Acer rubrum) – Red maple gets its name from it’s red leaves in the fall and round, red buds in the spring. The red maple leaf has five sharply-toothed lobes. I personally have not had much luck collecting sap from red maples, but you should give it a try!
Silver maple (Acer saccharinum) – Also known as the “swamp maple”, this is the most common maple in the wetlands behind my parents’ home where we tap. Silver maple can often be found in wet areas. The silver maple leaf have 5 deep, angular lobes with jagged tips. The leaf stalk and underside is silvery.
When to Tap Maple Trees
Maple trees are ready to tap in the late winter to early spring when the overnight temperatures are below freezing and the daytime temperatures are around 40-45°F. The temperature fluctuations build pressure, allowing sap to flow from taps.
The typical maple sugaring season lasts four to six weeks. Remove your taps when the tree starts to bud.
Also, it’s worth noting that climate change is pushing maple tapping season earlier in the year.
How to Tap Maple Trees
Maple Tapping Equipment
- Cordless drill
- Maple tapping drill bit*
- Spiles or spouts*
- Mallet
- Sap collection container with lid
- Tubing [optional]

I like this complete maple tapping kit.
*Note: The spile diameter should match the drill bit, so check these sizes before purchasing. I use 5/16 drill bit and spouts.
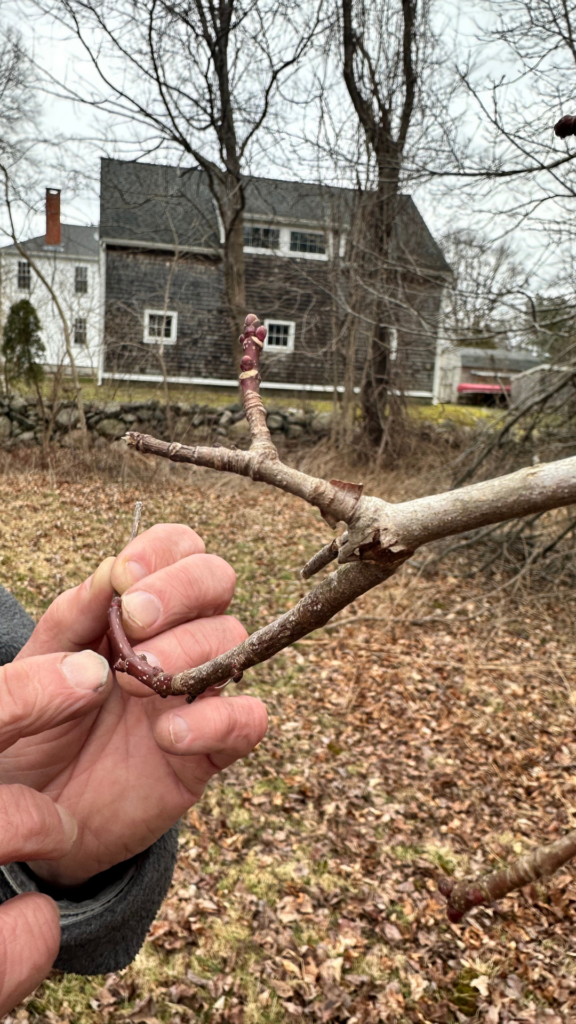
- Choose your tree. The maple tree should be at least 10-12″ in diameter. Otherwise, you risk harming the tree.
- Drill a hole. Using a cordless drill and a maple tapping drill bit that is the same size as your spiles, drill a 1.5-2″ deep hole at a convenient height.
- Insert spile/spout. Place your spile or spout in the hole. Use a mallet to gently tap the spile into place.
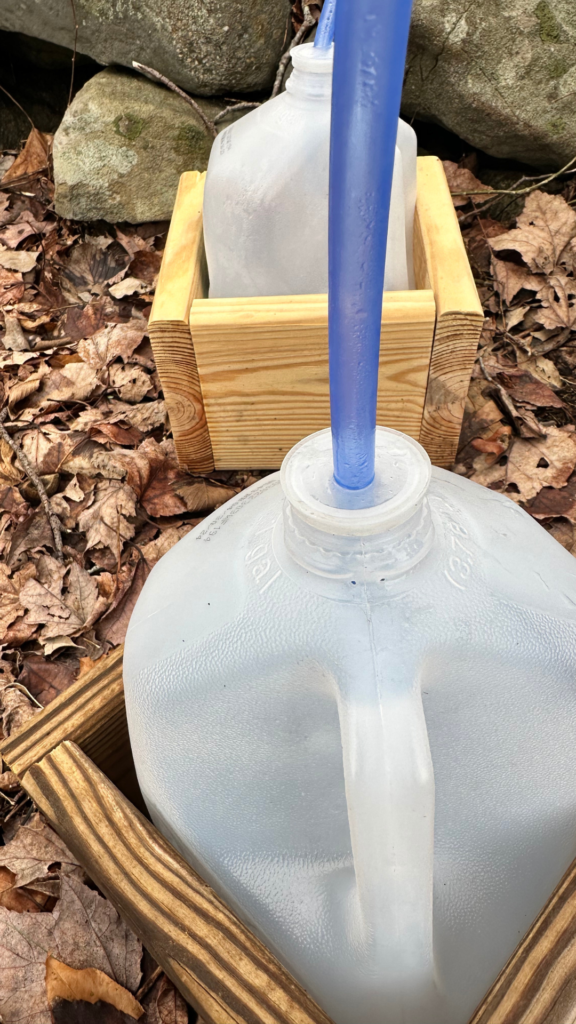
- Set up sap collection container. Many spiles come with hooks to hang a bucket or other sap collection container below the spout. I use 5/16 tubing that connects to old plastic milk gallon jugs that are placed on the ground. Either way, sap should drop into the container via gravity. Make sure your sap collection container is enclosed or has a lid to keep out bugs!
- Check containers daily. Make it a habit to check our containers at least daily. When the sap is flowing, you may be surprised by how quickly the containers can fill!
- Remove spiles/spouts at the end of the season. Remember to remove your spiles and spouts at the end of maple sugaring season. No need to plug the holes–the tree will heal itself so long as you don’t tap the same hole next year!
How to Make Maple Syrup | Step-by-Step Instructions
Equipment to Make Maple Syrup
- 6″ deep stainless steel restaurant warming trays
- Over-fire grate or other structure to hold trays
- Fire starting materials
- Cheesecloth or fine mesh strainer
- Candy thermometer
- Stockpot
- Containers to store syrup
How Much Sap Do You Need to Make Maple Syrup?
Conventional wisdom says that the ratio of maple sap to syrup is about 40:1. That is, you’ll need 40 gallons of sap to make one gallon of syrup! However, I’ve learned to expect a ratio more like 60:1 for less productive species (or those with less sugar in their sap) than the sugar maple, like the silver maple I typically tap.
Steps to Make Maple Syrup
#1 Collect the sap.
Collect the sap you’ll need to make your desired amount of maple syrup. Note that boiling sap can take all day, so it is unlikely you’ll be able to boil a whole gallon of syrup in a day. Most people work in batches over the course of the maple sugaring season. I recommend planning on boiling up to a quart of syrup a day at maximum (10-15 gallons of sap).
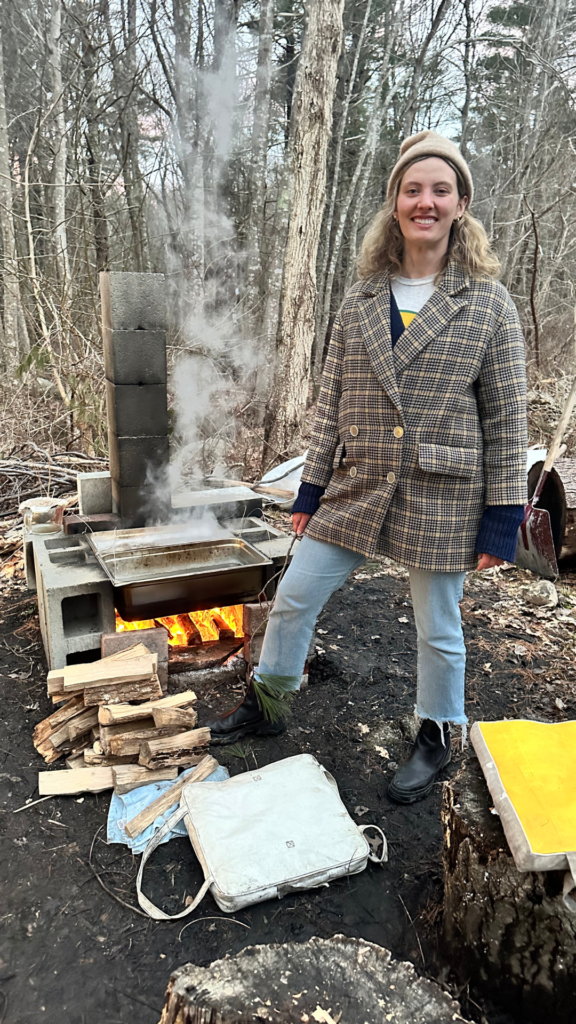
#2 Build a fire outside.
Sap boiling needs to happen outside, as sap is mostly water and the moisture released will steam up your whole house.
#3 Place heat-proof grate over fire.
The grate will hold your sap over the flame. Keep your grate about 3-4″ above the flame. You don’t want to burn the sap!
#4 Place restaurant warming tray(s) on top of grate.
The restaurant warming trays will hold your sap. I like to have at least two trays going at one time.
#5 Fill tray(s) with sap.
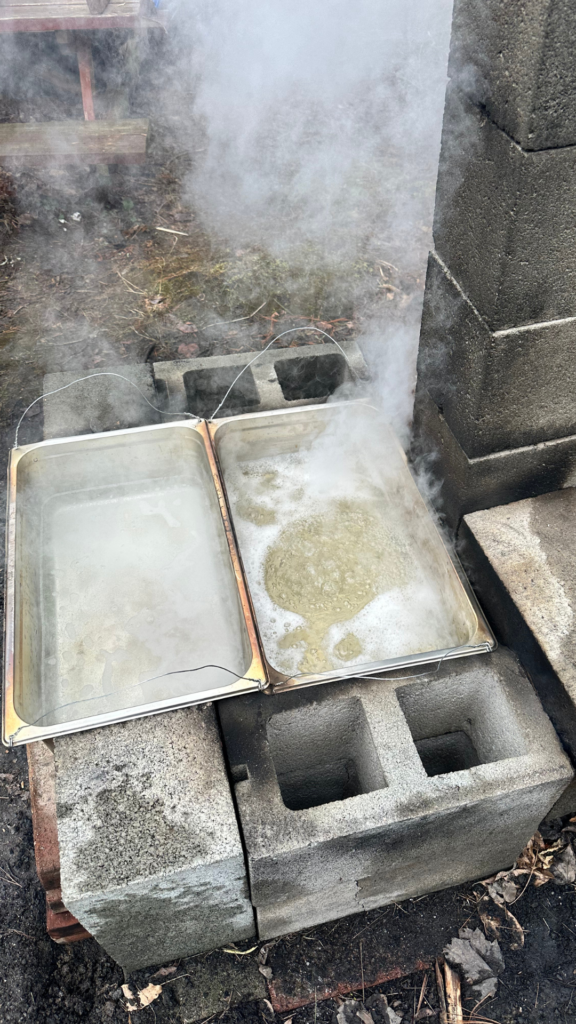
Each tray should hold about two gallons of sap.
#6 Let it boil!
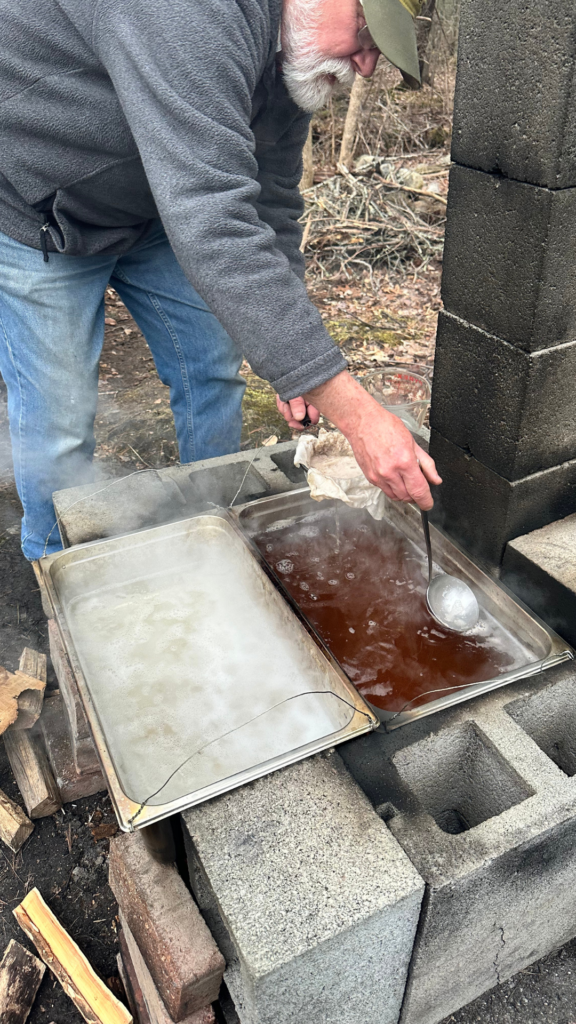
Bring sap to boil over an open flame. I recommend starting this process in the morning as it can take all day! Keep the fire stoked during this time. Continually add sap as it boils down. Also, make sure to skim off any foam that forms at the surface of the sap as it boils. Otherwise, the foam can burn. I use a soup ladle to do this.
#7 Strain at pre-syrup stage.
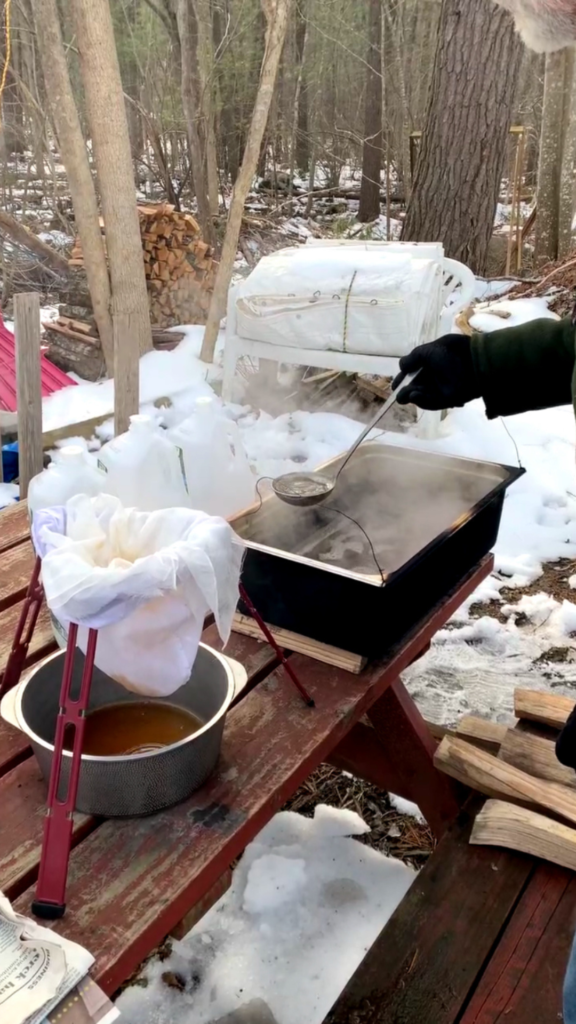
Move the sap from the outdoor fire to be finished indoors on the stovetop at the pre-syrup stage. Identifying the pre-syrup stage is more of an art than a science. Look for a rich brown color, sweet smell, and a slightly more viscous consistency. Strain the pre-syrup through a cheesecloth or other fine mesh strainer and transport inside.
#8 Finish syrup indoors.
Place the pre-syrup in a stockpot over medium-high heat. Let it come to a boil and reduce by about half. However, it’s important to monitor the pre-syrup with a candy thermometer during this time to know exactly when to take the syrup off the heat. The syrup is ready when it reaches 219°F, is a golden brown, and viscous.
#9 Store your maple syrup and enjoy!
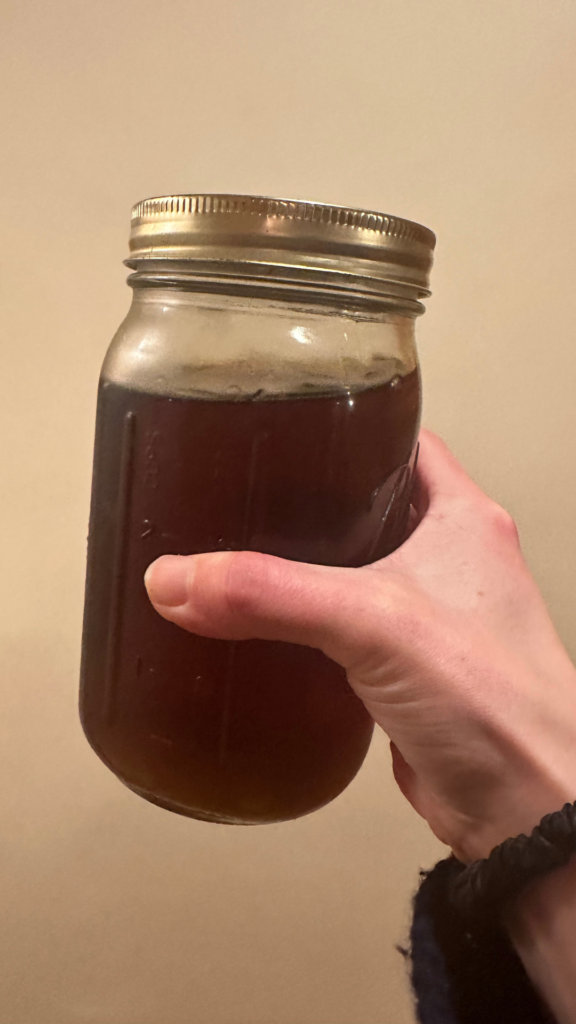
Store maple syrup in a cool, dry place. Once opened, maple syrup needs to be stored in the refrigerator. Maple syrup will last about a year.
Hi, I’m Leslie, the founder of PunkMed
Hey friend! I’m so glad that you stopped by the blog today to learn how to make maple syrup. Let me know how it goes!
If you’re into wild food foraging, urban homesteading, or living a more sustainable life–stick around! There are a good number of resources on my blog, and I always love to hear from my readers (that’s you!) Feel free to send me a DM on Instagram!
This post was about how to make maple syrup.