This post may contain affiliate links, which means that I may receive a commission if you make a purchase using these links.
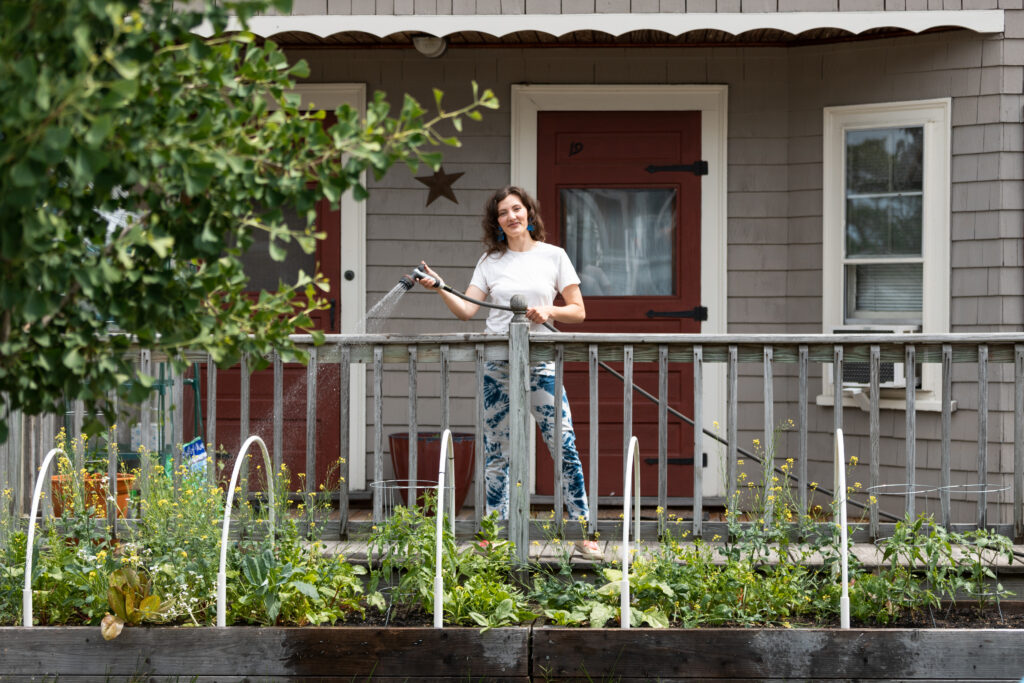
No dig gardening is the lazy gardening method that is better for your back (no more weeding!) and for your plants. Learn how to start a no dig garden and watch your plants thrive!
Growing up, gardening always seemed like such a chore.
Every spring, my dad would grumble about turning over the garden–which was an all-day event of backbreaking work. Back then, the theory was “turning over” garden, or turning over the soil so that deeper layers get worked to the top with a shovel, was an essential step at the start of the growing season.
Now that I have my own garden and have learned about the benefits of no dig gardening, I want to go back in time and shake my dad out of his misery. You don’t have to live like this!
Once you witness firsthand the benefits of no dig gardening (for you and your plants), you’ll never turn back.
Hi, I’m Leslie!
My name is Leslie, and I’m the founder of PunkMed! On my blog, I and my team share my info, experiences, and recommendations in the area of sustainability, urban homesteading, and gardening. Our goal is to make it less overwhelming for you to live a fun and sustainable life!
I am proud to say that I’ve been practicing no dig gardening for almost 10 years now, and I’m so excited to share my step-by-step process for starting a no till garden today on the blog!
Let’s get into it!
This post is all about no dig gardening.
What is No Dig Gardening?
No dig gardening offers an easier method to boosting soil health, and therefore the health of your plants.
Tilling, or “turning over” of the home garden, was thought to be beneficial because it introduces oxygen to the microbes in the soil. Indeed, soil microbes love the infusion of oxygen, and there is an observable frenzy of microbial life that does benefit your plants–at first.
Unfortunately, the overzealous microbes cannot sustain the rate of metabolism and the soil is depleted over time. In addition, weed seeds that were buried deep within the earth can now grow with the exposure to air and sunlight.
On the other hand, no dig gardening feeds the soil from the top down without disturbing the delicate balance of microbial life underneath.
With no dig gardening, you will feed the soil through layers of nutritious material, like compost, that will break down over time and feed your plants at the same rate nature does.
Think of your garden as mimicking the forest floor, where the trees and other plants are fed from the decomposition of fallen leaves slowly over time. These plants thrive without the intervention of humans, and so can your garden!
Benefits of No Dig Gardening
No dig gardening, also known as no-till or lasagna gardening, is an approach to gardening that minimizes soil disturbance. There are many benefits of practicing no dig gardening:
- Soil Health: No dig gardening preserves the soil structure and encourages the development of healthy soil ecosystems. By not disturbing the soil, you allow beneficial organisms like earthworms, fungi, and bacteria to live in balance, which in turn improves soil fertility and structure.
- Weed Suppression: No dig gardening suppresses weed growth by layering organic materials like mulch, compost, and cardboard on top of the soil, which blocks weed seeds from essential oxygen and sunlight. This reduces the need for manual weeding and minimizes the spread of weed seeds.
- Moisture Retention: The layering of organic materials helps to retain moisture in the soil, reducing the need for frequent watering. This is especially beneficial in arid or drought-prone regions.
- Nutrient Retention: By not disturbing the soil structure, nutrients are retained within the soil instead of being leached away. This ensures that plants have access to essential nutrients for healthy growth.
- Reduced Soil Compaction: Traditional tilling can lead to soil compaction, which restricts root growth and water infiltration. No dig gardening avoids this problem, allowing roots to penetrate the soil more easily and deeply, improving overall plant health.
- Time and Labor Saving: No dig gardening requires less time and effort compared to traditional gardening methods. There’s no need for tilling, which can be labor-intensive, and there’s generally less of a need for weeding throughout the growing season.
- Environmental Benefits: By minimizing soil disturbance, no dig gardening reduces the carbon footprint associated with gardening activities. It also promotes sustainable gardening practices by emphasizing the use of organic materials and reducing reliance on chemical fertilizers and pesticides.
How to Start a No Dig Garden
Step #1 Pick a Location
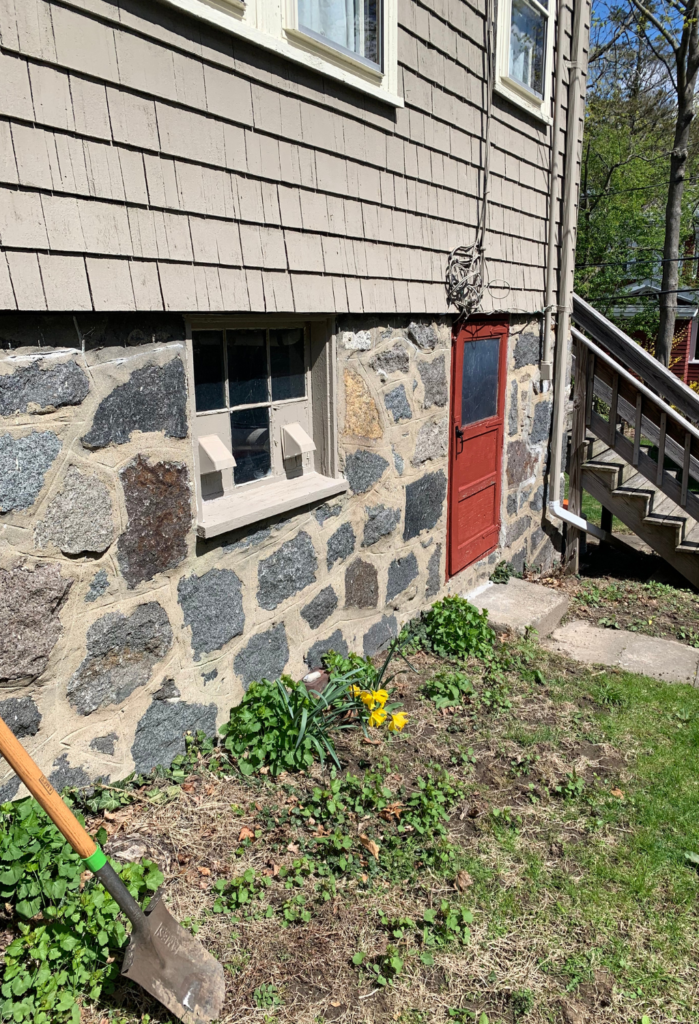
First, you’ll need to pick a spot for your new no dig garden. The ideal location will be dependent upon what you are growing and how much sun each plant requires. The general rule of thumb is that vegetable gardens need need full sun, which is around 6 to 8 hours a day.
Don’t worry about any existing vegetation in your selected location. In the coming steps, we will stamp or mow this down!
A no dig garden can be placed almost anywhere, including a meadow, lawn, or weedy area. You can also apply the principles of no dig gardening to raised beds or container gardens.
Step #2 Fertilize and Add Soil Amendments
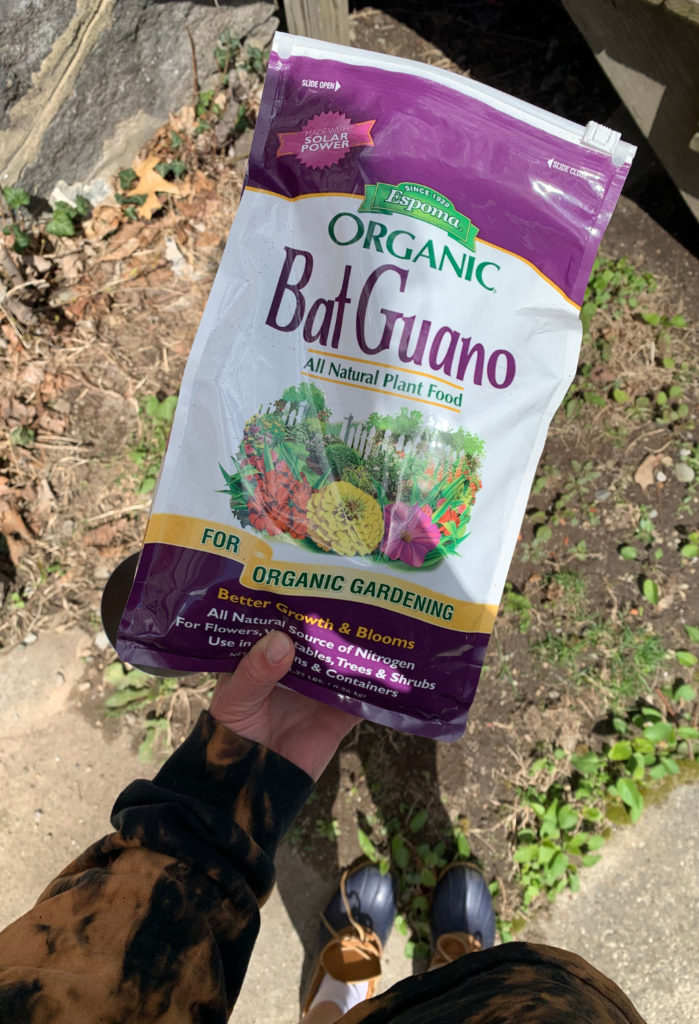
Next, fertilize the selected area for your no dig garden. You could also add other soil amendments (calcium, etc.) as needed at this stage, depending on the needs of your soil. Obtain a soil test to assess the quality of your soil and help you determine which fertilizer and soil amendments to choose.
There are many types of fertilizers. Any complete fertilizer that contains nitrogen, phosphorus, and potassium (often called “NPK”) will work.
Check the NPK values on your chosen fertilizer, often prominently displayed as three digits on the front of the packaging. For example, a 4-4-4 fertilizer contains 4% nitrogen, 4% phosphorus, and 4% potassium.
Here I added bat guano as a fertilizer because it’s high in nitrogen, but you can use an organic, all-purpose fertilizer.

Fertilize the area using the following formula: for every 100 square feet of planted area, spread 6 cups of any fertilizer that contains 5 percent nitrogen. Adjust the formula for your fertilizer’s specific nitrogen value.
Step #3 Cut, Mow or Stamp Down Vegetation
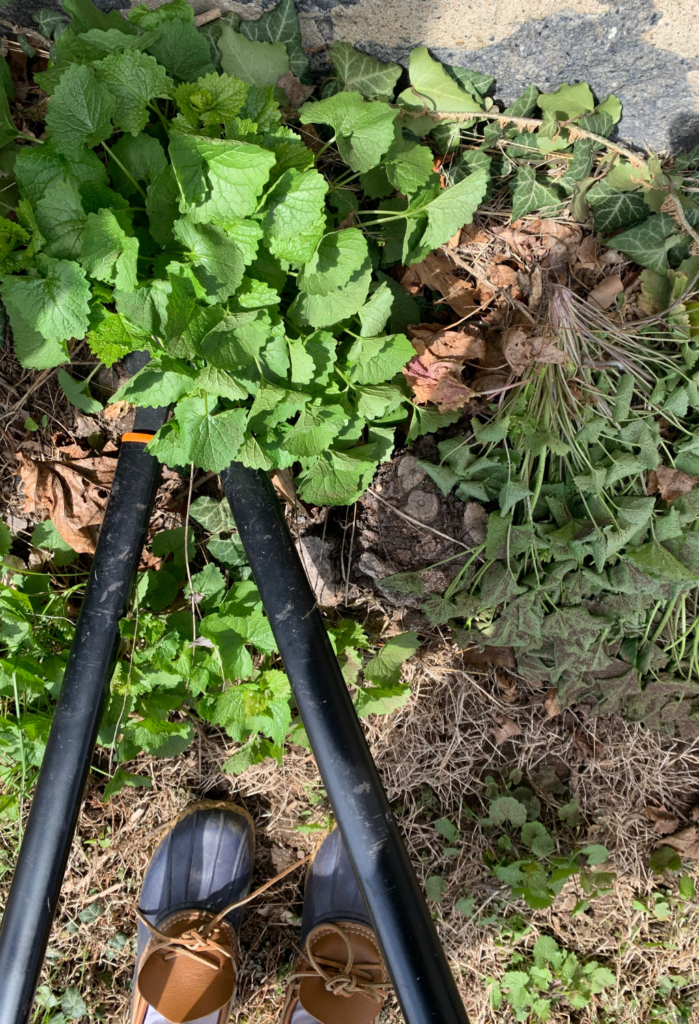
Next, you will need to create level ground for planting your new no dig garden.
Cut, mow, or simply stomp down any existing vegetation to make an even surface as close to the earth as possible.
Often a variety of methods works best. I cut down larger weeds and vines with a heavy branch cutter, stomp down the remaining plants, and mow for a closer shave. A power mow is not necessary, but the clippings do jumpstart the decomposition process.
Leave all the plant trimmings where they are! They will become part of the milieu that feeds your garden as they decompose.
Step #4 Lay Down Paper
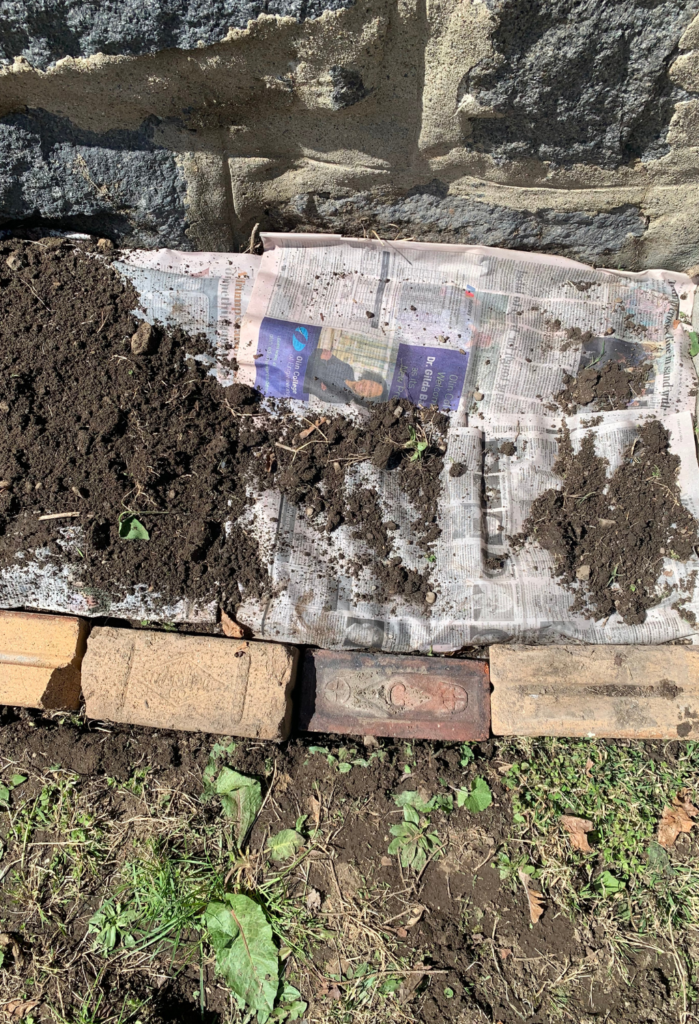
So far, you have cut down the existing vegetation in your chosen location, but you have not killed it. The roots of nasty weed plants remain alive and ready to put out new shoots and leaves.
To prevent this, place a layer of paper down over your new garden plot. This will starve the roots of necessary sunlight, and they’ll die within a few days.
Newspaper works well for this task, if you happen to have any laying around. (If not, ask your neighbors, or visit a local recycling center!)
Four layers of newspaper should do the trick, and make sure the sheets are overlapping so weeds underneath are completely smothered. Make sure they
If you can’t find any newspaper, you can use a single layer of cardboard or landscape barrier paper.
If you are transplanting established plants, cut X’s in the newpaper layer with a knife, shovel, or other sharp tool. This is where you will place the transplants later, tucking their roots underneath the newspaper.’
Step #5 Water
Grab your hose and wet the newspaper or cardboard layer to weigh it down and kickstart the decomposition process.
If you are covering a large area, it will be easier to layer down paper and water in sections, so to avoid stepping on areas you have already covered and jostling things around so you don’t have 100% coverage.
Step #6 Add Compost or Other Mulch Layer
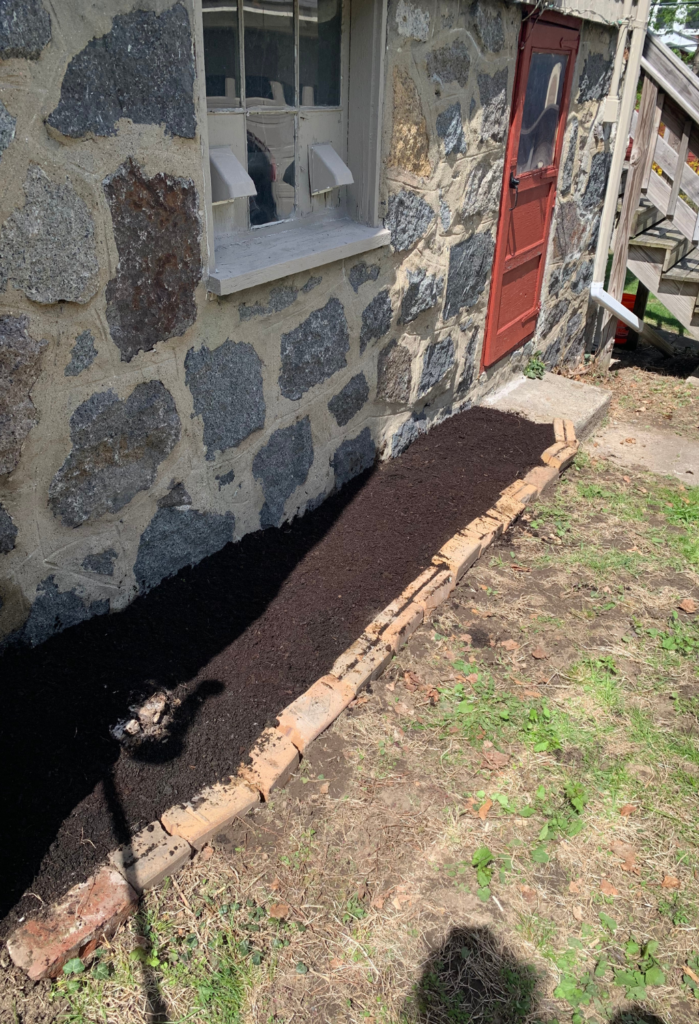
Next, depending on what you are planting in your new no dig garden, you will need to add a compost or other mulch layer.
Mulch is a general term that refers to materials that act as ground cover to protect your plants’ roots from the elements. There are many mulch options, including:
- Compost
- Wood chips
- Straw
- Leaves
- Grass clippings
- Sawdust
- Seaweed
The mulch layer serves multiple purposes. First, the mulch layer will weigh your layer of paper down so it doesn’t get blown away by the wind.
Second, it will feed your plants essential nutrients as the organic materials continue to decompose.
For the ultimate mulching recipe, learn more about my guide to sheet mulching.
No Dig Garden Compost
Importantly, if you are planting seeds or small transplants you will need a layer of compost to act as your growing medium on top of previous layers. You’ll need a layer of compost thick enough to plant in (about 3″ deep).

If you’re not already home composting, I recommend using my favorite Coast of Maine Compost.
Trees, shrubs, and established plants do well with an additional layer of a heartier mulch. One of my favorite mulches is straw.
Step #7 Plant
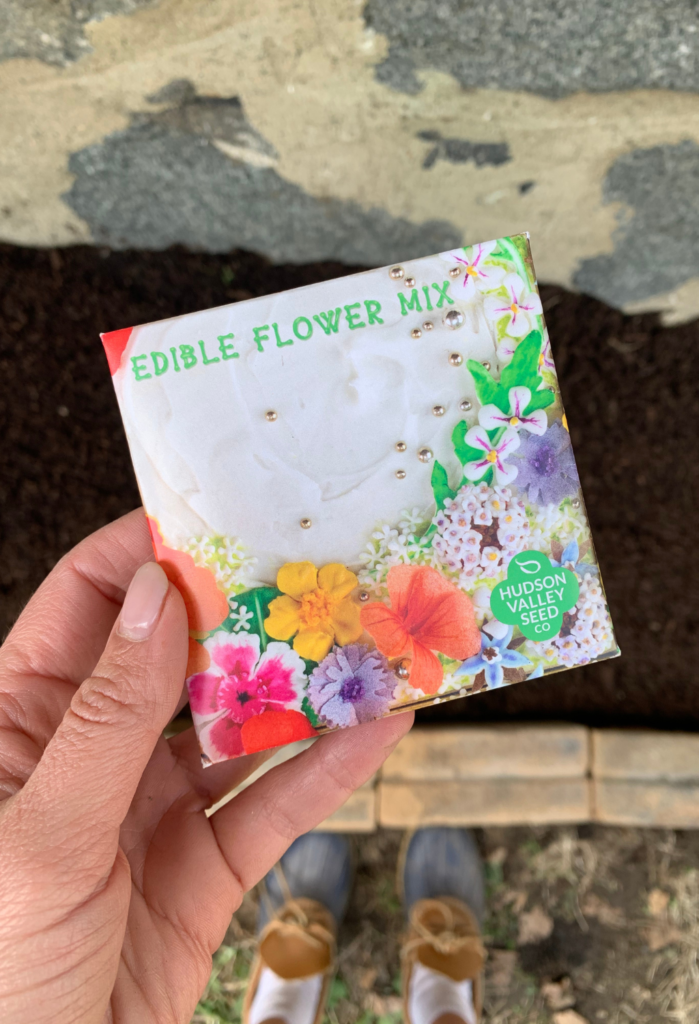
If you’re planting seeds, bury your seeds into the compost layer at the depth specified on the seed packet.
If you’re transplanting establish plants, tuck the roots underneath the newspaper layer through the X-shaped holes you made in Step #4. Mulch as necessary.
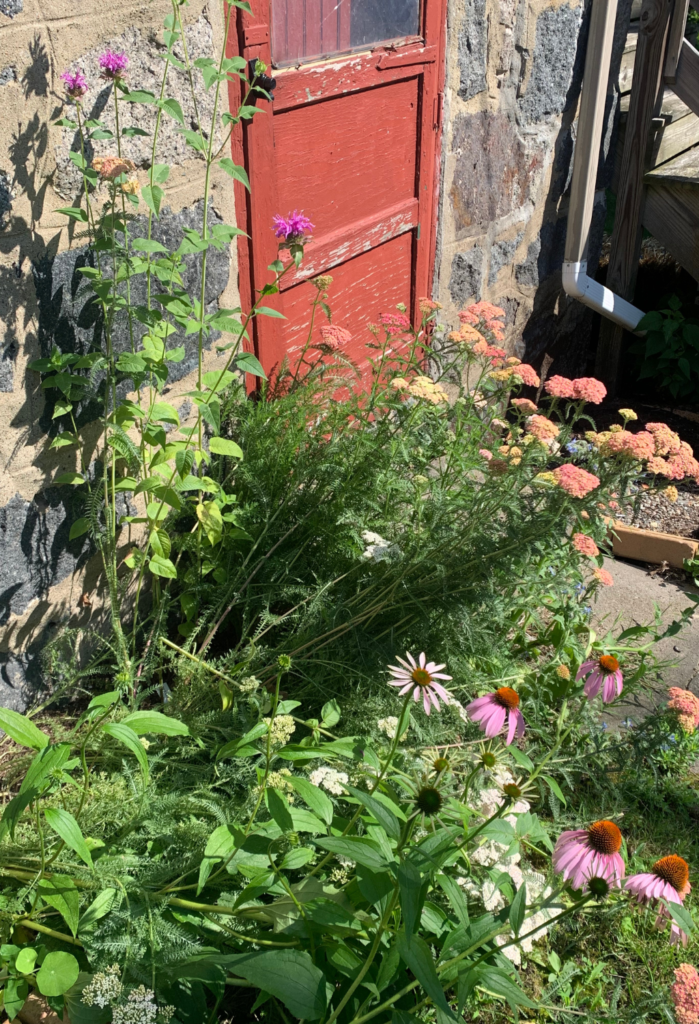
Water, and enjoy your new no till garden!
This post was all about no dig gardening.