This post may contain affiliate links, which means that I may receive a commission if you make a purchase using these links.
Looking for a simple raised bed garden DIY project? With a few materials and a drill, you can make your own customizable raised bed garden in an afternoon.
Building a raised bed garden may seem intimidating, but I promise you it shouldn’t be. Even if you’ve never built anything from scratch, I promise you can handle this raised bed garden DIY project!
Yes, it requires a trip to the hardware store for some lumber–but don’t let that stop you. I barely knew what “two by four” meant before I built this raised bed garden. (FYI, it refers to a piece of wood that is two inches thick and four inches wide.)
That’s why I describe this raised bed garden DIY as a “leveled-up” beginner’s project. Basically, this is a good project for you if you’re ready to graduate from plants pots or other smaller container gardens, or you just want to fully customize your raised beds.
What is a Raised Bed Garden?
As the name suggests, a raised bed garden is simply a garden that has been raised off the ground. (As opposed to a traditional garden bed sown right into the earth.)
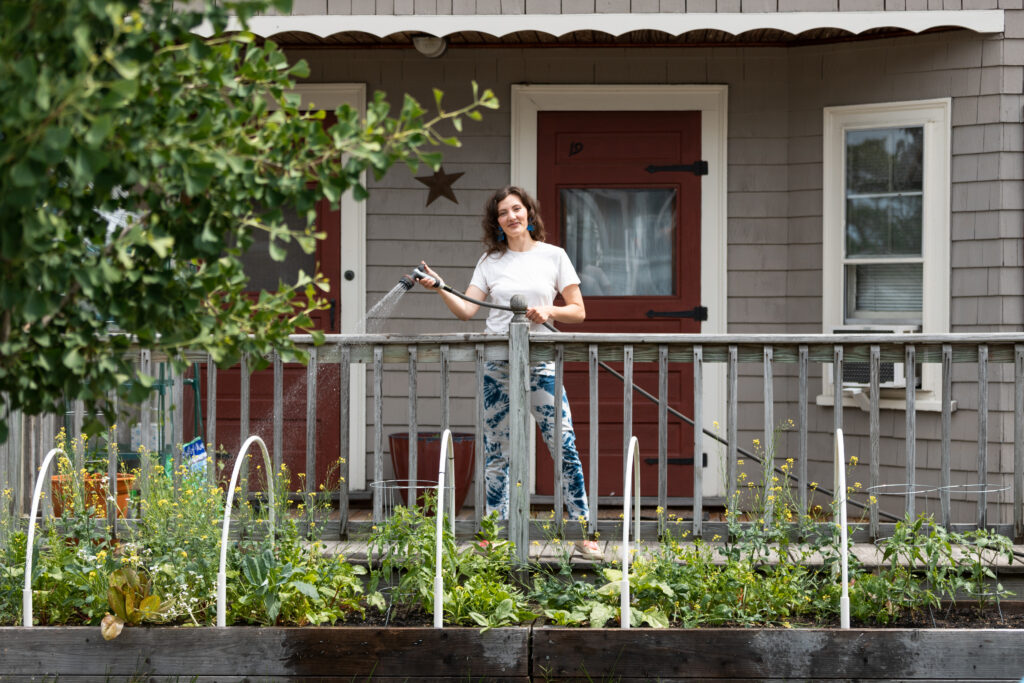
Raised bed gardens can be built on top of the earth, as this one is. I recommend this approach if you have a yard or other piece of land you can build on. If you don’t have access to a patch of soil, check out some other ideas for container gardening on a porch, stoop, or balcony, etc.
This raised bed garden is essentially a bottomless container for soil. That way, worms and other beneficial insects and microorganisms can make their way up into your raised bed and boost your plants’ growth.
Why Build a Raised Bed Garden?
Raised bed gardens are great for several reasons:
- Raised beds often grow healthier plants and higher yield. The fluffy, rich soil imported into a raised bed will help your plants thrive.
- Raised beds offer a solution for poor and/or contaminated soils. Soil in urban areas and other settings can be contaminated with lead, gasoline, and other runoff from traffic and industry. Building a raised bed garden allows you to fill that garden with uncontaminated soil, like this raised bed mix.
- Raised beds are ergonomic. Because raised beds are raised nearly a foot (or more) off the ground, they can offer easier access to your plants without the back strain. This means easier weeding–yay!
- Raised bed are warmer and allow you to start plants earlier. The soil is raised beds warms faster than the ground, giving you a head start in the spring.
- Raised beds have good drainage. Water drains from raised beds quicker than compacted ground soil.
- Raised beds offer protection from creatures (and humans!) Raised bed gardens give your plants a stage, protecting them from dogs, children, and other animals. I have found that rabbits do not bother hopping into my raised bed gardens, despite the tasty treats that await them there! They are happy to munch on my neighbor’s ground-level garden bed.
Raised Bed Garden DIY Tips
Before we get into the step-by-step instructions for building your own raised bed garden, here are a few of my top tips!
- Place your raised bed garden in an area where it can get six to eight hours of full sunlight.
- Allow access to your raised garden bed from all sides. Allow space for pathways between multiple garden beds.
- Don’t build your garden bed wider than four feet. This allows you to access all the plants in your garden.
- Enlist a friend or two to help you. This DIY raised bed garden may be simple to build, but it is helpful to have a few extra helping hands to put it together.
- Make sure your car can fit the lumber required before you make a trip to the hardware store. My Nissan Altima sedan could fit the longest wooden boards needed for this project (8 feet), but it’s worth double-checking with your particular car (especially if you are customizing the size of your garden bed to be longer than these specific plans!)
- Consider skipping the pressure-treated lumber. There is some controversy as to whether pressure treated lumber is safe to use near plants grown for food. I recommend opting for untreated cedar or pine.
This post is all about raised bed garden DIY plans.

DIY Raised Bed Garden Materials
- Patch of lawn or dirt that get a minimum of 6 hours of sunlight per day
- Drill
- Drill bit for #14 screws
- Shovel
- (6) 2” X 8” board, eight feet long. Cut two of these boards in half for the short side of the raised bed.
- (1) 4”X 4”, six feet long. Cut into four equal parts, 18” each. These are the corner posts of your garden. The 2” X 8” boards will be screwed to the posts for easy assembly.
- 3½“ #14 wood screws
DIY Raised Bed Garden Plans
- Start with two of the 2” x 8” boards that were cut in half (these should be 4’ long) for the short side of the garden. Drill two guide holes on each end of each board where they will be screwed to the corner post.
- Line the boards up so they are flush with the top and side of a corner post.
- Screw the boards to the corner post. The corner posts should be a couple inches longer than the two plank boards on one end. This is good. Those corner posts will be going into the ground to keep your garden in place.
- Drill the other side of the planks to another corner post.
- Repeat the process with the other two side planks and corner posts. You should have the two short ends of the garden now with the four corner posts attached.
- Drill two guide holes on either end of the 8-foot long planks.
- Line two of the 8-foot long boards so they are flush to the corner post of one of the sides. It is easiest to do this with the legs of the corner posts sticking up in the air.
- Screw the long boards to the corner posts.
- Repeat the process with the other two long boards. Now you should have an upside-down garden box!
- Right the garden box and use the legs of the corner posts to mark where they will go in the ground. Note here that it is find to place your garden over pre-existing lawn. No need to dig up the grass or turnover the dirt. This will all be killed by the weight of the soil you’re about the throw on it. Plus, all the decaying organic matter will act as compost to your plants growing above.
- Dig a few inches into the soil to make room for the four legs of your garden box. You may need to loosen up the dirt beforehand.
- Place your garden box into the holes, making sure your planks are reasonably flush to the ground. You can use a level here. It may take a few attempts and re-digging to get this right. It doesn’t have to be perfect; it just needs to hold soil!
- Fill your garden box with the highest quality, organic soil you can find. I like Coast of Maine Organic Raised Bed Mix for this purpose. Fair warning, this will be expensive, but in subsequent growing seasons you should be able to simply supplement your existing soil with some compost and replant. In other words, your initial investment will pay off for years. Fill the box to the top, as it will settle after watering. Reserve some soil to cover your seeds.
- I do not subscribe to the notion of neat, little garden rows organized by species. Instead, we encourage survival of the fittest and throw a mix of seeds all over the garden. The result is a beautiful, tangled burst of green that you thin out by eating over the course of the season. See below for the exact seeds I use in my raised bed gardens. The plants in this mix will reach maturity at different times so you will have a harvest throughout the spring, and potentially even into the winter. Grab your seed packets and spread evenly over the soil. Do not premix the seeds—spread them out one by one!
- Cover your seeds with ¼” or less of reserved soil.
- Water gently, with your hose on the lowest sprinkle setting.
- Keep your seeds moist until the seeds germinate, then begin daily, deep watering.
- Enjoy the fruits of your labor! Read more about vegetable garden ideas while you wait for your plants to grow!
Hi, I’m Leslie, the founder of PunkMed
Hey friend! I’m so glad that you stopped by today. I had a blast sharing my step-by-step instructions to build your own DIY raised garden bed.
If you’re into vegetable gardening, urban homesteading, or living a more sustainable life–stick around! There are a good number of resources on my blog, and I always love to hear from my readers (that’s you!) Feel free to send me a DM on Instagram!
This post was all about raised bed garden DIY plans.
What to Read Next
I so enjoyed sharing my guide on how to make a raised bed garden. Below, I’ve shared a few other gardening guides that share my experience on other important gardening topics!