This post may contain affiliate links, which means that I may receive a commission if you make a purchase using these links.
Are you trying to figure out how to pickle something? Then you’re in the right place! Today I share the exact steps I use for pickling my own vegetables, from garden in Boston, Massachusetts.
Whether you have more peppers from your garden than you know what to do with, or you’ve just bought too many carrots from the grocery store, pickling is a simple solution that allows you to preserve vegetables longer than they would last in the fridge.
We love less food waste!
This blog post is all about how to pickle anything.
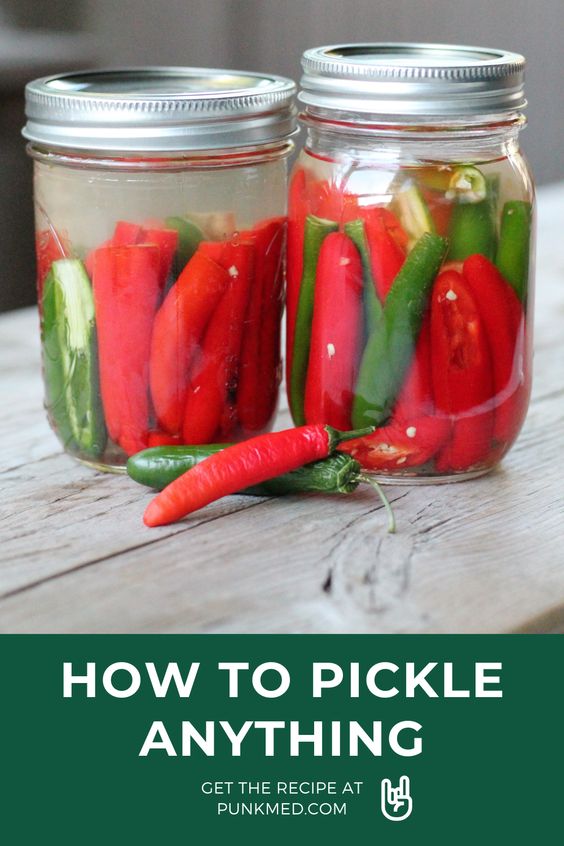
How to Pickle Anything
Before you go thinking you’ll need some special pickling equipment and make pickling your whole personality, let me just say this: pickling is ridiculously easy.
To take part in the age-old tradition of lacto-fermentation (the scientific term for what is going on during the pickling process) all you need is salt, water, vegetables and some mason jars to fit them in.
Lacto-fermentation is the process by which good bacteria (called lactobacillus) converts the natural sugars present in your vegetable matter into lactic acid. The lactic acid preserves the food and further prevent bad bacteria from growing.
To get this process started, you’ll need to create a salt water solution that creates the right environment for lactobacillus to thrive, and keeps bad bacteria out.
For most hard vegetables, this is a 2% salt water solution. For softer vegetables, like cucumbers, you’ll want to use a saltier solution, closer to 3 – 3.5%.
Supplies – How to Pickle Anything
· Chlorine-free water (use spring water, bottled or from a spring)
· Sea salt (no table, iodized or kosher salt)
· Vegetables (hard veggies like carrots, peppers, rutabega, turnips, parsnips, green beans need 2% salt to water, softer veggies like cucumbers, okra need 3 – 3.5 % salt)
· Mason jars with lids
5 Steps – How to Pickle Anything
Below, I’ve shared my step-by-step guide on how to pickle anything. this information is based on my own experience!
Step #1: Dissolve All Salt in Water
Depending on the vegetable you are pickling, you will dissolve 2 – 3.5% salt in water. Harder vegetables like carrots, peppers, rutabaga, turnips, parsnips, green beans need 2% salt to water, while softer veggies like cucumbers, okra need 3 – 3.5 % salt.
To make this easy, I dissolve 2 tablespoons salt in 1 quart water for a 2% solution. For softer veggies, I dissolve 3 ½ tablespoons salt in 1 quart water. From there, you eyeball the water you need to fully cover your veggies when they’re in the jars. You may not use all the water or need to make a little more, which is fine, as long as you maintain the same percentage salt solution.
Step #2: Process Vegetables
Next, you’ll need to process your vegetables so they fit into your jars. For longer veggies like carrots, peppers, and green beans, I like to slice lengthwise and maintain as much length as possible while still fitting into your jars (with at least a centimeter of space from the lip of the jar).
From there, I stuff as many spears in the jar as I can so they are snug in the jar. You should be able to hold the jar without them falling out. This ensures your veggies will keep each other from floating to the top of the solution and getting exposed to air. (This invites yeast and mold—yuck!)
You can also experiment with cutting your vegetables into other shapes and size—coins, spiralized, etc. It doesn’t matter as long as they can be kept underneath the salt water.
You may need to cover your veggies with a layer to keep them from rising. This can be a layer of vegetable matter like cabbage or grape leaves, or you can invest in a fermentation weight.
Step #3: Cover Vegetables with Salt Water Solution
Next, you’ll ant to completely cover vegetables with your salt water solution. Make sure to leave at least a centimeter of space from the lip of the jar to allow space for the CO2 gases that are produced during the fermentation process to release.
Step #4: Fermentation
For this step on how to pickle vegetables, you’ll want to let the veggies ferment on the counter for 3-5 days. The amount of time the process will take depends on the temperature of the air. Warmer temperatures will mean a faster ferment. Look for bubbles of CO2—this will let you know the process is underway.
It’s a good idea to keep an eye on the jar throughout this time. You may need to release the lid a little bit (“burp” it) to let some gas escape throughout the fermentation. You should also be on the lookout for nay veggies that may have risen out of the water and been exposed to air. Either push those down, or, if they may have been out for a while, pluck them out.
Use your senses when assessing the fermentation. Does it smell fermented? Taste your produce throughout the process. The veggies should remain crisp but flavorful. Make sure no mold or yeast has developed.

Step #5: Tighten & Storage
Finally, tighten the lid and store in the fridge. Enjoy! Your ferment will last for up to a year in the fridge.
WATCH ME MAKE PICKLED PEPPERS HERE:
Here, i’ve shared a step-by-step video on how to pickle vegetables:
This blog post was all about how to pickle anything.
What to Read Next —>
I hope you enjoyed this blog post on how to pickle anything! Below, I’ve shared a few other blog posts about pickling and canning I think you’d enjoy.