This post may contain affiliate links, which means that I may receive a commission if you make a purchase using these links.
Starting seeds indoors can extend your growing season, ensure greater success with germination, and make healthier plants–especially if you live in a colder climate. Learn how to start seed indoors with this ultimate guide.
Some plants are best sown indoors, where they will germinate and grow in the safe and warm environment of your home until they can be transplanted outside.
Starting seeds indoors is a rewarding process that requires a little investment in some equipment up front, but will serve your garden in the long run!
Let’s get into it!
Plants to Start Indoors
Generally speaking, there are two types of plants that are best sown indoors:
- Heat-loving plants (like tomatoes, eggplants, and peppers)
- Long-season plants (like brussel sprouts, celery, and cabbage)
Note: these categories are NOT mutually exclusive. For example, the tomato is both a heat-loving and long-season vegetable. Long-season plants take a long time to grow before they can be harvested.
If I tried to sow tomato seed outdoors in New England (where I live), I would would likely be hampered by cold temperatures in the spring. If I waited longer for temperatures to warm, the tomatoes would not have enough time in the growing season to produce fruit (or not as much as I would like!) before the fall set in.’
Of course, there is some nuance around which plants should be started indoors. Decisions to start indoors should be based on the plant, your climate, and your experience. Some experimentation will reveal which plants are best sown indoors and outdoors in your specific garden!
When to Start Seeds Indoors
Determining when to start seeds indoors depends on the plant you are intending to grow. The best place to find this information is on the seed packet.
Generally, the packet will say something like “Sow indoors X weeks before last frost.” This gives you the number of weeks before last frost to start these specific seeds indoors. To determine the last frost date for your specific area, ask a gardening neighbor or look up the date of last frost by your zip code here.
Where to Start Seeds Indoors
Deciding where to put your seed starting operation when starting seeds indoors can be a challenge–especially if you’re an urban homesteader like me and gardening in a small space or apartment!
Your exact setup will depend on how large your operation is (I recommend starting small) but you will at least need at least one flat surface with room to hang grow lights above the plants. See below for the exact seed starting equipment I recommend.
However, I do have some tips regarding where in your home to start seeds:
- Choose a place in your home where the temperature is consistently 60°F or above. For the most part, this means NOT starting seeds in a garage or unfinished basement. The exception would be if you know your garage or basement stays above 60°F and you can prove it with a temperature monitor.
- Find a place away from children and pets. Seed starting setups are like magnets to curious children and pets–I don’t know why this is but it is the truth! Plus, it’s dangerous. You don’t want anyone knocking trays of water into your artificial light setup. For this reason, I have my seed starting setup in the office which can be closed off from the rest of the house and the cats.
- You don’t actually need a ton of light. It’s not necessary to have your setup by a window or light source, because a window will never provide sufficient light for your seedlings. Instead, we will be relying on artificial light to optimal plant growth.
- You DO need to start near an outlet. You need to be able to plug in your artificial grow lights nearby.
Seed Starting Equipment
Starting seeds indoors requires some investment in some specialized products and equipment. However, I promise the investment in pay off in healthier plants that produce more throughout the extended growing season!
Seed Starting Medium

Give your seeds the best chance at growing healthy and strong by using special seed starting medium. This is NOT soil! Seed starting medium is specially formulated to germinate and grow seeds.
DO NOT start seeds in your regular soil! There could potentially be pests and pathogens lurking in untreated soil that could squash germination or harm your seedlings.
Seed Tray with Humidity Dome and Flood Tray

Listen, I’m all for avoiding plastic where possible, but believe me I have tried every compostable seed pot and they just DO NOT get the job done!
Instead, I recommend a standard, plastic seed tray with a humidity dome and flood tray without holes. Luckily, these can be reused if properly sanitized between seasons and handled gently.
There are two important components of a seed starting tray besides the seed starting cells where you actually plant your seeds:
- HUMIDITY DOME – helps protect the seeds and helps move along the germination process. Cover the seed tray with the humidity dome until the seeds have germinated and then remove.
- FLOOD TRAY – holds the seed starting cells. A flood tray is essential for a practice I recommend called ‘bottom watering.’ Bottom watering basically means instead of watering your seedlings directly, you’ll fill the flood tray with about a 1/4 inch of water, and that water will be wicked up into the soil. This practice encourages root development.
Heat Mat

Most seeds like it warm in order to germinate! The optimal germination temperature for heat-loving plants like tomatoes is 65° to 85°F. I don’t know about you, but that is just a little bit warmer than my apartment in the early spring! (Especially with my husband constantly turning down the thermostat!)
This heat mat warms the rooting area 10-20°F above ambient temperature.
(Plus, this heat mat actually doubles as a sourdough starter jumpstart and bread-proofer in my house!)
Grow Lights
Unfortunately, windows will not provide enough light to grow seedlings inside. Instead, you’ll need to invest in artificial lights, sometimes called “grow lights”.
You’ll need a 2-foot grow light for every tray of seeds.
Best Type of Grow Lights for Starting Seeds Indoors
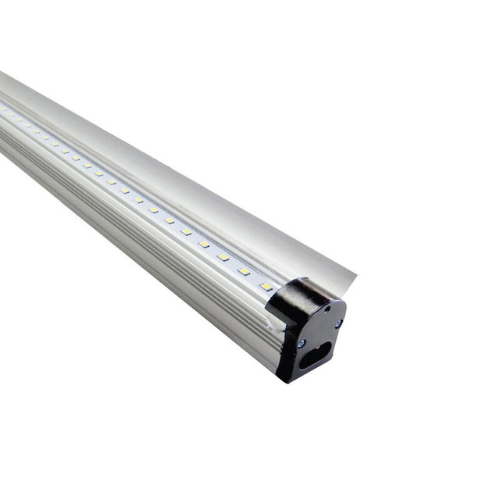
I recommend T5 fluorescent or full-spectrum LED 6500K lights. The K stands for Kelvin, which is a measure of the ‘color temperature’ of the light. Generally, lights higher on the Kelvin scale (i.e. white-blue) emulate daylight and are best for vegetative growth. Ignore those pink lights–they’re pretty but NOT the best for seed starting!
The grow lights should ideally come with hooks to hang from above, as well as a pulley system to move the lights up and down. You’ll pull the lights up as the seedlings grow, so you don’t scorch their tender leaves.
I like the SunBlaster LED Strip Light Kit – 36″.
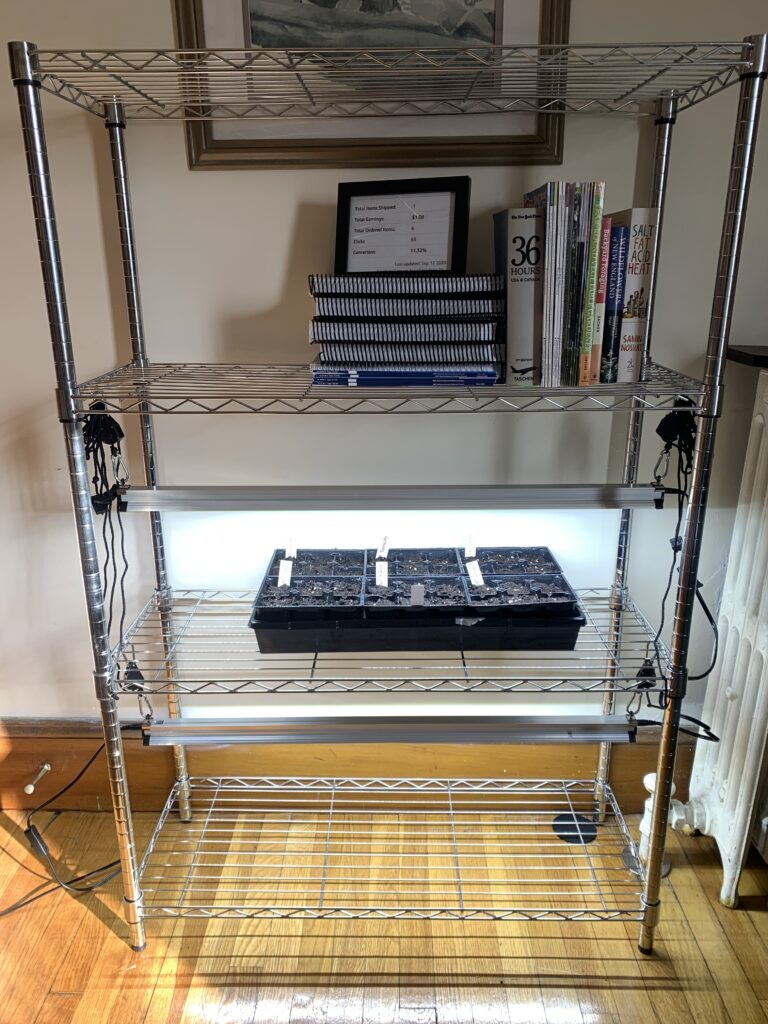
Shelving

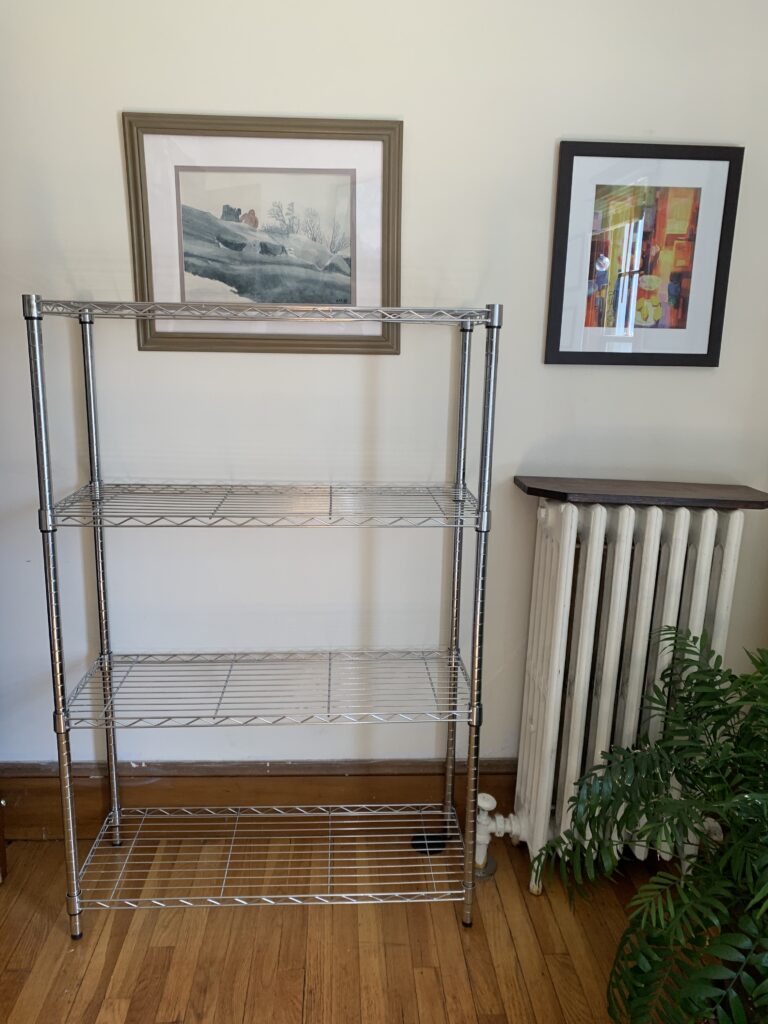
I like basic, heavy-duty steel storage shelving for seed starting purposes.
The steel wire material will allow you to hang your grow lights safely from the shelf above your seed trays. (Again, ideally your grow lights came with hooks and a pulley system for this purpose.)
The exact size of your shelving will depend on the amount of trays you plan on growing. I recommend starting out small! This 4-shelf unit will allow you to have three shelves of seed trays with grow lights hanging from the shelf above.
Reminder: be safe when using electricity and water in the same area!
How to Start Seeds Indoors
By now, you’ve picked the seeds, and you know where and when you’re starting your seeds. You’ve got your equipment and you’re ready to grow, so here are the actual step to starting seeds indoors.
#1 Set Up Shelving Unit/Seed Starting Station
Setting up your seed starting station is going to look different based on your space and the number of trays you’ll be planting. Make sure your space is near an outlet, as you will need to plug in the electronics.
I recommend using heavy-duty steel shelving units in whatever size works best for you. I use the Amazon Basics 4-Shelf Adjustable, Heavy Duty Storage Shelving Unit (36L x 14W x 54H). This allows me to grow on three of the shelves, with grow lights hanging from the shelf above.
#2 Hang Grow Lights
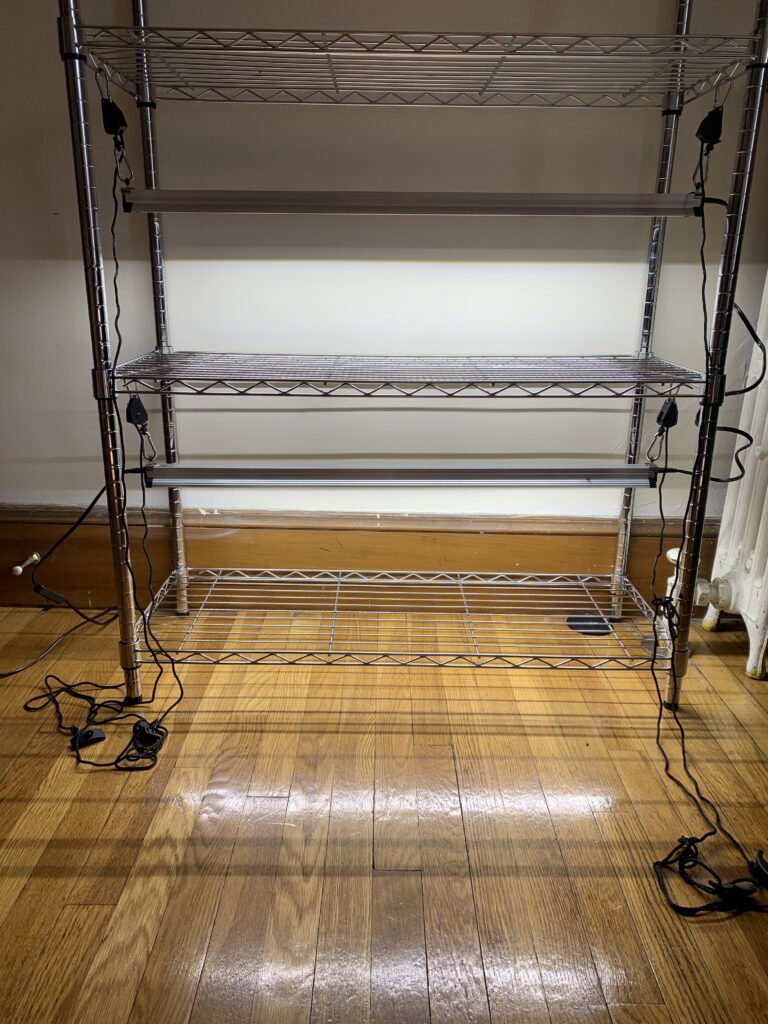
After you’ve got your shelving set up, you’ll want to hang your grow lights.
Ideally you’ve purchased grow lights that come with hanging hooks and clips. I like the SunBlaster LED Strip Light Kit – 36″ for this reason, and because they are the same length as my shelving unit! This model comes with hanging clips, but you’ll need to buy the adjustable hanger separately. (This allows you to adjust how the the lights hang over the plants as they grow.)
You will need at least one 2-foot light for each standard 10″x20″ tray of seedlings you want to start. I like to double up with two LED lights over each seed tray.
Using the hanging clips and hooks, hang the light strips from the steel wire of the shelf above where you will keep your seed tray(s).
You won’t need to turn the lights on until the seeds have germinated, but it’s good to have your space set up in advance.
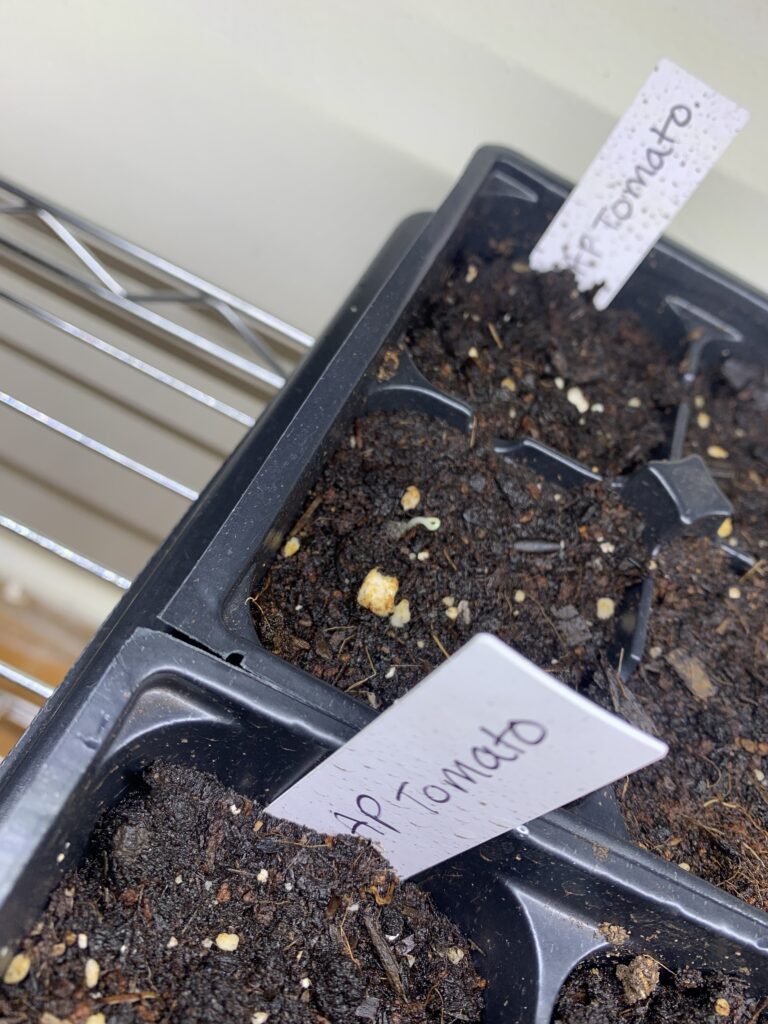
#3 Plant Seeds
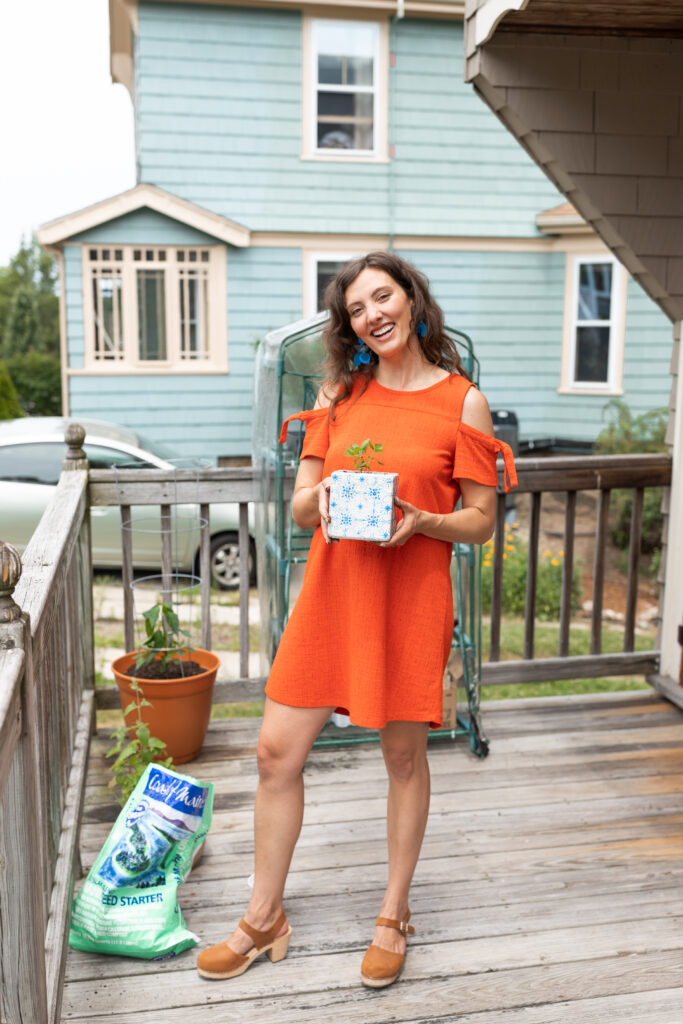
Okay, now for the fun part–time to actually plant the seeds! I like to do this outside on my front porch so as to not make a huge mess indoors.
Make sure your seed tray and supplies are sanitized if reusing them from last growing season.
Fill each cell with seed starting medium, leaving about a 1/4″ inch at the top.
Poke a 1/4″ hole in the top of the soil with a pen tip or finger, drop your seed in, and sprinkle with grow medium to cover.
Spray gently with water. I like to use a super gently spray bottle for this step.
#4 Add Heat Mat and Humidity Dome
Alright, now time to set up the optimal conditions for your seed to germinate.
Plug in the heat mat and set it to the optimal germination temperature for most heat-loving seeds–65° to 85°F. Keep an eye on the ambient temperature in your house–the heat mat may not need to be on 24/7.
Make sure each of your seeds has been sprayed with water. You’ll want to keep them hydrated throughout the germination process, so keep spraying them with water when the growing medium starts looking a little dry. (We won’t be bottom water with the flood tray quite yet.)
Cover the seed tray with the humidity dome. If it ever looks like it’s getting a little TOO wet in there (and maybe getting moldy) offset the dome a bit to let in some air.
#5 Wait for Germination!
Now we wait! Keep the seed starting medium moist by spraying gently with water whenever you notice it getting a little dry.
Remember: you don’t turn the grow lights on during the germination phase! Those seeds are underground and don’t require light to germinate–just moisture and warmth.
Check the seed packet for specific germination times. For example, tomato seeds should germinate in about 5-6 days if you can keep the soil temperature around 80°F.
#6 Turn on Grow Lights
Once your seeds have germinated, it’s time to turn on the grow lights!
In general, seedlings should get 14-16 hours of light a day under LED grow light, and 16-18 hours of light a day under fluorescent lights.
![[2 Pack] NEARPOW Digital Timer For Lamp With Dual Outlets, Programmable Timer In Door, Outlet Timer For Lights,10 On/Off Programs, 24-Hour And 7-Day Programmable Electric Plug Timer,3 Prong, 15A/1875W](https://m.media-amazon.com/images/I/41jjKD4parL.jpg)
Bonus tip: use a digital outlet timer (like a one you use for Christmas tree lights) to automatically turn your grow lights off and on.
Keep your seedlings 2-4″ away from the grow lights, using the adjustable hooks to raise the lights as the seedlings grow.
#7 Water Your Seedlings from the Bottom
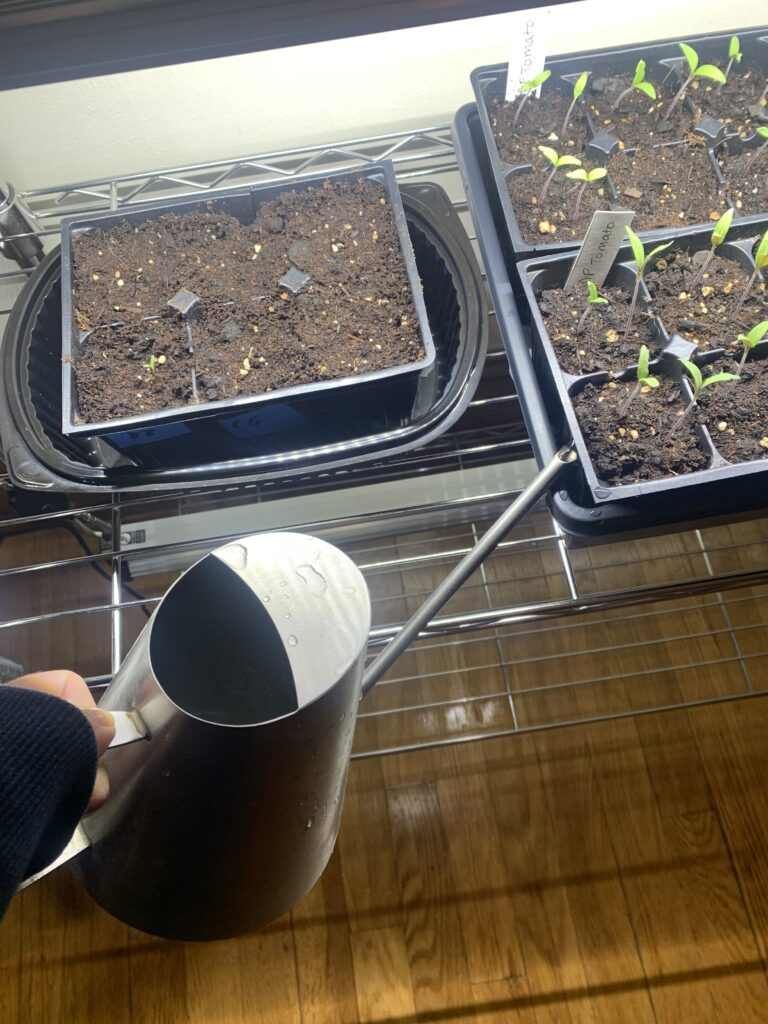
Now that your seeds have sprouted, it is time to swap out the spray bottle for “bottom watering.” Bottom watering is easier than spraying your seedlings with water, and encourages your seedlings to grow deeper roots.
Bottom Watering Your Seedlings
Water your seedlings by keeping the flood tray beneath the seed starting cells filled with about 1/4″ of water. I use the regular old watering can I use for house plants for this purpose. The water will be “wicked up” by the growing medium through the holes in the seed tray.
You can turn the heat mat off and remove at this point.
#8 Feeding

This is optional, but your seedings may benefit from a 50% diluted organic liquid fertilizer about a week or so before hardening off. Simply add the diluted fertilizer to the flood tray as you would during a watering.
#9 Hardening Off
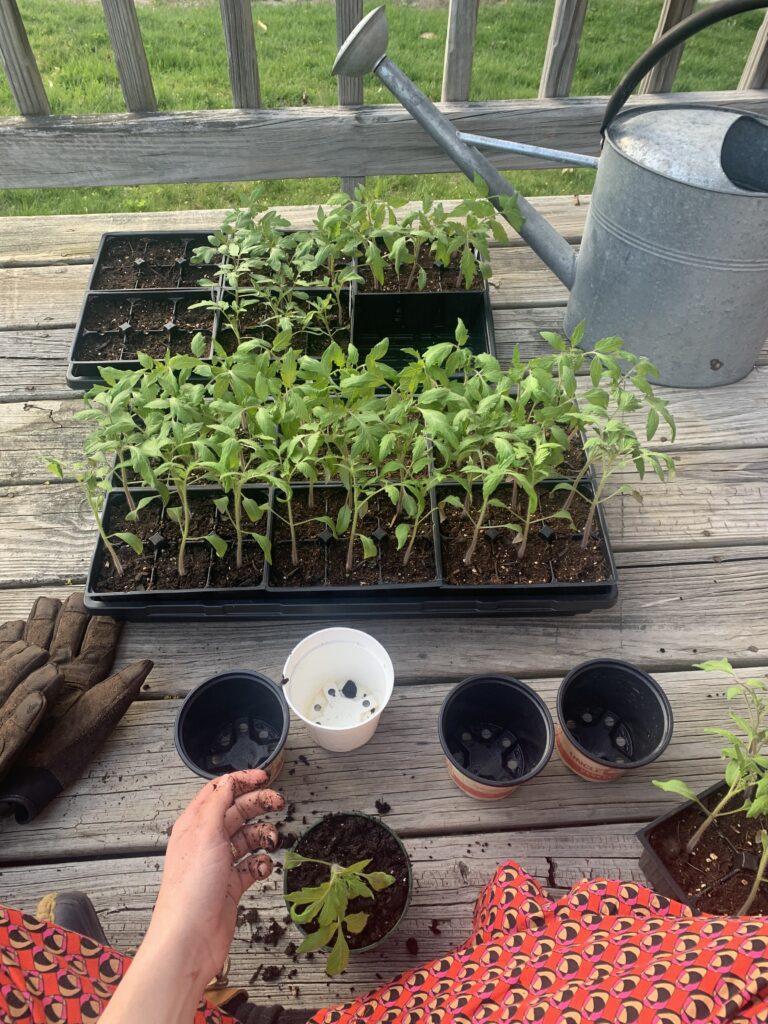
Hardening off is the process of transitioning your seedlings to the outside world before they are transplanted. You can begin the hardening off process when the seedlings have put out 3-5 sets of true leaves (i.e. the identifiable leaves of the adult plant, not the first set of baby cotyledon leaves.)
Start the hardening off process on a warm, clear day when the temperatures are above 45°F. Place your seedlings outside in a place where they are protected from wind and direct sunlight. (A greenhouse with the door open or other semi-sheltered space would be perfect for this!) Leave them out for an hour.
Increase time outside by an hour over the course of the next week or so, never leaving your seedlings outside in the harsh wind or rain!
After max two weeks, your seedlings are ready to be transplanted into your garden and live the rest of their days outside! Great job!
This post was all about starting seeds indoors.
Hi, I’m Leslie, the founder of PunkMed
Hey friend! I’m so glad that you stopped by today. I had a great time sharing my top tips to starting seeds indoors! If you’re into vegetable gardening, urban homesteading, or living a more sustainable life, stick around! There are a good number of resources on my blog, and I always love to hear from my readers (that’s you!) Feel free to send me a DM on Instagram!