This post may contain affiliate links, which means that I may receive a commission if you make a purchase using these links.
Wondering how to prepare your garden for winter so that the soil is healthy as possible for the next growing season? Follow this complete guide to preparing your garden for winter.
In my first year of gardening, I didn’t give too much thought to how to prepare my garden for winter. To be honest, there is so much excitement and work to do during the growing season that it honestly didn’t occur to me until the first frost set in.
It felt wrong to just leave the soil bare out in the freezing cold, but I didn’t know any better at the time.
Now, with nearly a decade of gardening and urban homesteading under my belt, I am sharing the simple steps I learned along the way to properly prepare your garden for winter to ensure the healthiest soil for next year.
Why Prepare Your Garden for Winter?
Here in New England, (I grow in Zone 6b) there is not much to grow in the winter. Of course, there are ways to extend your growing season, but for the most part, winter is a time of rest and reset for the garden.
As a urban homesteader, I personally use the winter to focus on other practices, such as sourdough bread baking and cold water therapy.
Still, there are a few steps you can take at the end of the growing season (in the fall) to ensure the soil is in your garden is as healthy as possible for the next year.
These simple steps will protect beneficial insect and microbial life and add nutrient-dense matter to build your soil through the harsh winter.’
When to Prepare Garden for Winter
Generally, you should begin preparing your garden for winter after you’ve harvested all your crops before the first frost of the year.
It’s important to harvest everything in your garden before the first frost because the freezing temperatures can kill the plant and damage the integrity of the edible parts.
I recommend finding the estimated first fall frost date for your area in the Farmers Almanac. Use the estimated date to plan ahead, but pay attention the weather forecast in case you need to harvest early.
As discussed below, I also recommend taking in any electronics that you may use in the garden before the first frost, as these can be damaged in the cold.
Hi, I’m Leslie, Urban Gardener!
My name is Leslie, and I’m the founder of PunkMed! On my blog, I and my team share my info, experiences, and recommendations in the area of gardening, urban homesteading, and natural living. Our goal is to make it less overwhelming for you to live a fun and sustainable life!
In today’s post, I’m sharing my steps to preparing your garden for winter. These ideas come from my years of experience no till gardening in New England–which is known to have some pretty harsh winters!
Let’s get into it!
This post is all about how to prepare garden for winter.
How to Prepare Garden for Winter
#1 Clear Out Annuals
First, as a practitioner of no-dig gardening, I like to disturb the soil as little as possible when preparing my garden for winter. This practice leaves beneficial microbial and insect life intact. Plus, the decomposing plant matter of last years’ plants will provide nutrients to your garden next year. It’s the circle of life!
But, how do we remove the annual plants in the winter to make room for new plants next year without disturbing the soil?

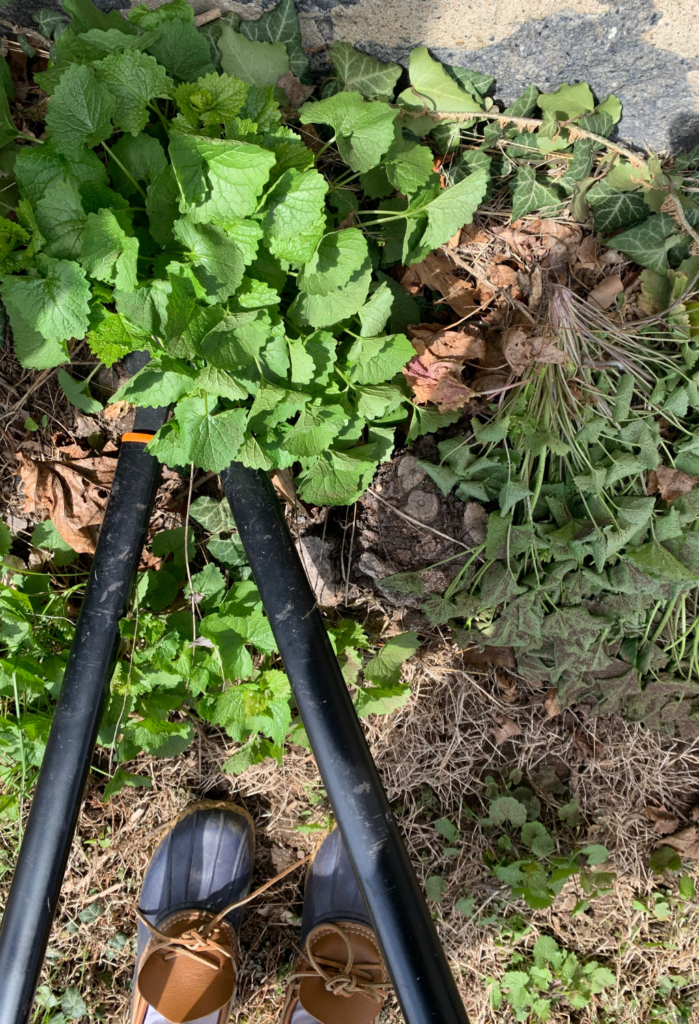
Use a good pair of gardening shears to clip smaller plants at the base, where the stem meets the soil.

You may need to remove larger plants entirely. Use a hori hori knife (AKA a gardening knife) to cut around the base of the stem, and use a ‘twist-and-pull’ motion to remove the plant.
#2 Clean Up Perennials
Next, perennial plants should not be removed from your garden (that is, if you want them to grow again next year!) However, you should clean them up a bit to ensure good growth next year.
Use gardening shears to prune away any spent flowers or dead/diseased foliage.
#3 Take in Irrigation Equipment
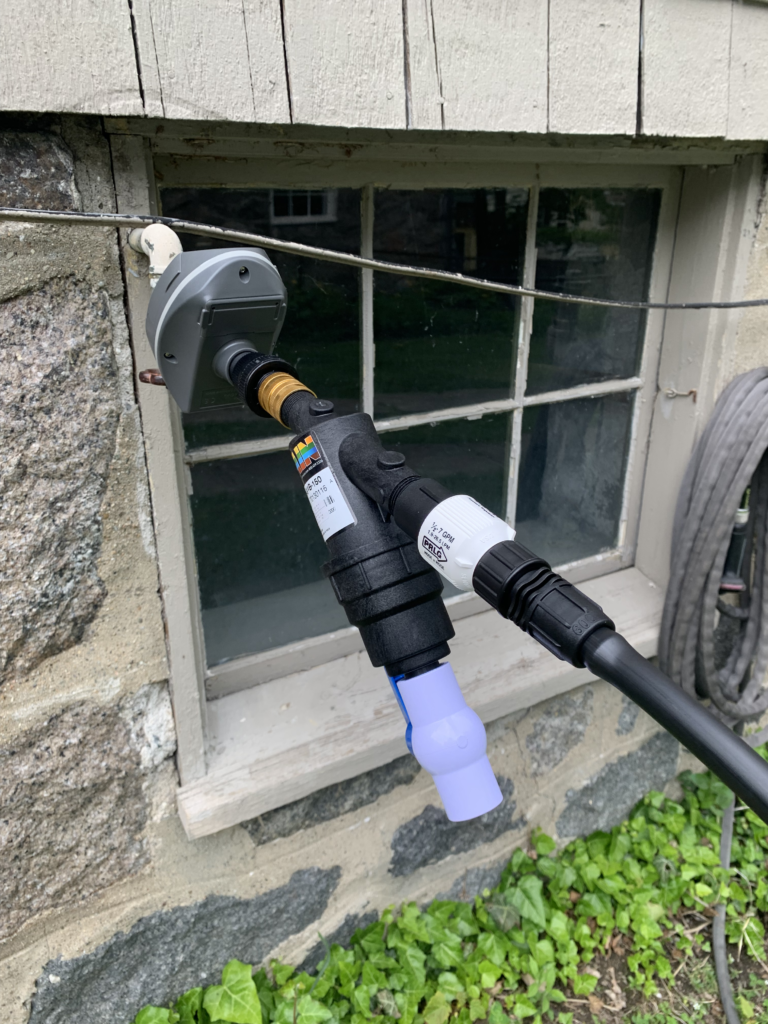
Next, if you have a drip irrigation system in place like me, it’s critical to bring in any electronics and delicate equipment that could be damaged by freezing temperatures. I bring in the entire head assembly at the hose tap for the winter (including the water timer, check valve, water filter, and pressure regulator.)
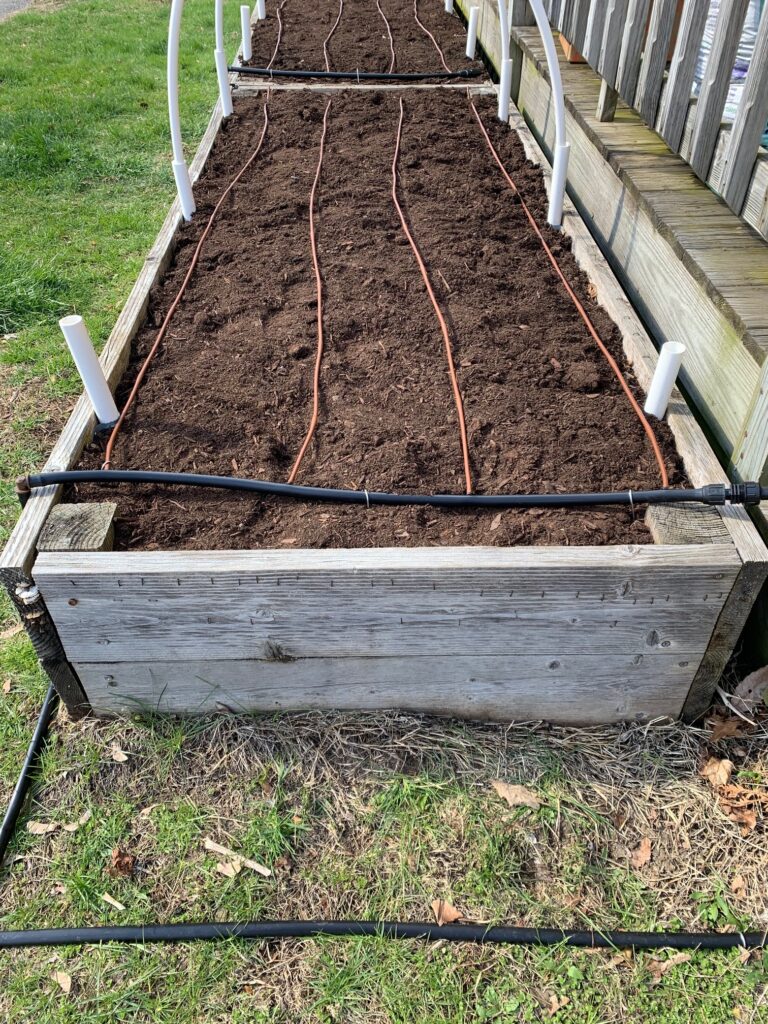
Generally, it’s okay to leave the ground irrigation system out for the winter (including the drip line, drip tape, drip emitters, etc.) Basically, the tubing that actually brings the water to the plants can be left outside for the winter.
#4 Put Down Layer of Compost
After harvesting, removing dead plant matter, and taking in irrigation equipment, you’re ready to prepare your soil for next year.
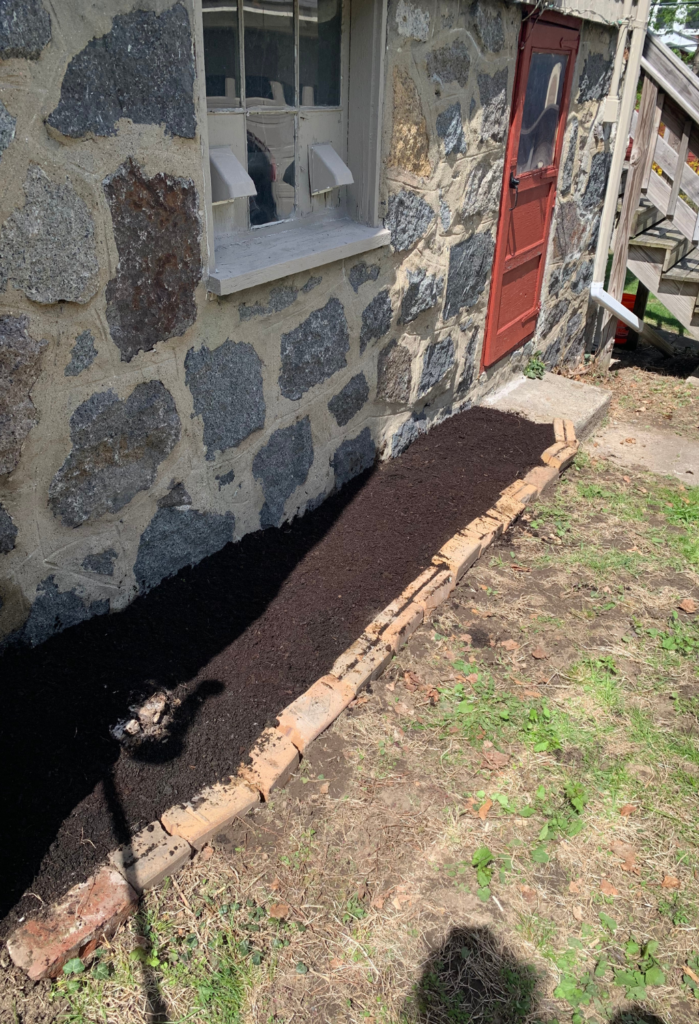
Next, spread a layer about one inch (1″) thick of compost across your garden.
Compost is the brown, crumbly byproduct of decayed organic matter. You can buy compost, or make your own.
I always use my favorite Coast of Maine Compost.

Compost is the most nutrient-dense additive you can provide your soil. Think of it as a nice healthy meal your soil can enjoy all winter along, so it’s strong and ready to go for next year!
#5 Cover with Leaves
Finally, the last step is like tucking in your garden for a long rest, and will ensure it’s reenergized for the next growing season.
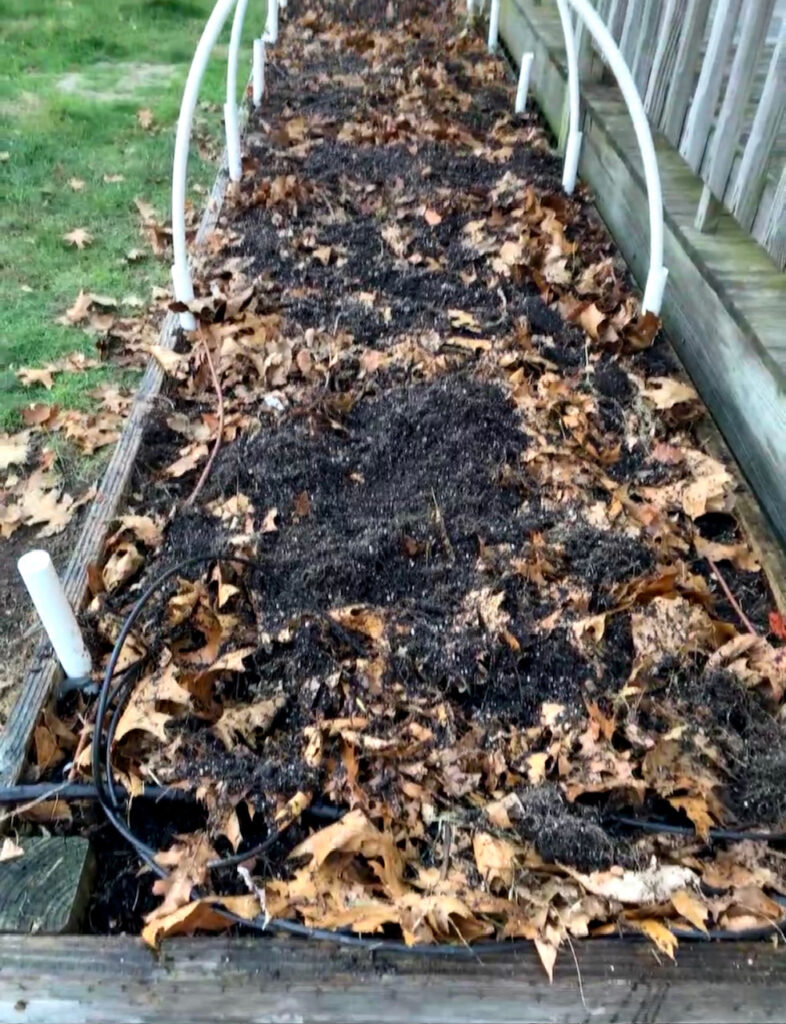
Lay down about three inches (3″) of leaf litter over your compost layer, completely covering your garden area.
These leaves can be collected from elsewhere in your yard. (Don’t throw those leaves away!) I like to run the collected leaves over with a lawn mower a few times to shred them a bit, making it easier for the leaves to break down in the garden.
Plus, this layer of leaves insulates your garden and the life it sustains over the winter, and provides important habitat for beneficial insects.
This post was all about how to prepare garden for winter.